Painting a door outside
➡️ Looking to paint your doors inside the house? Then go straight to our handy guide on how to paint your wooden doors inside.
Step 1: prepare
- Cover up parts and surroundings with tape or demount the door.
- Give the door a thorough cleaning.
- Remove any flaky paint and sand.
When you're going to paint an external door, your preparation isn't that much different from when you're going to paint a door inside. Again, you can choose to remove the door from its frame and place it on trestles, for example, to paint.
You can then also take the hinges and door handle off the door, or cover them with tape. Also, if you choose to leave the door in the frame, or if you want to paint the frame with it, it's best to cover things up. Think about the wall(s) around it, or the floor.
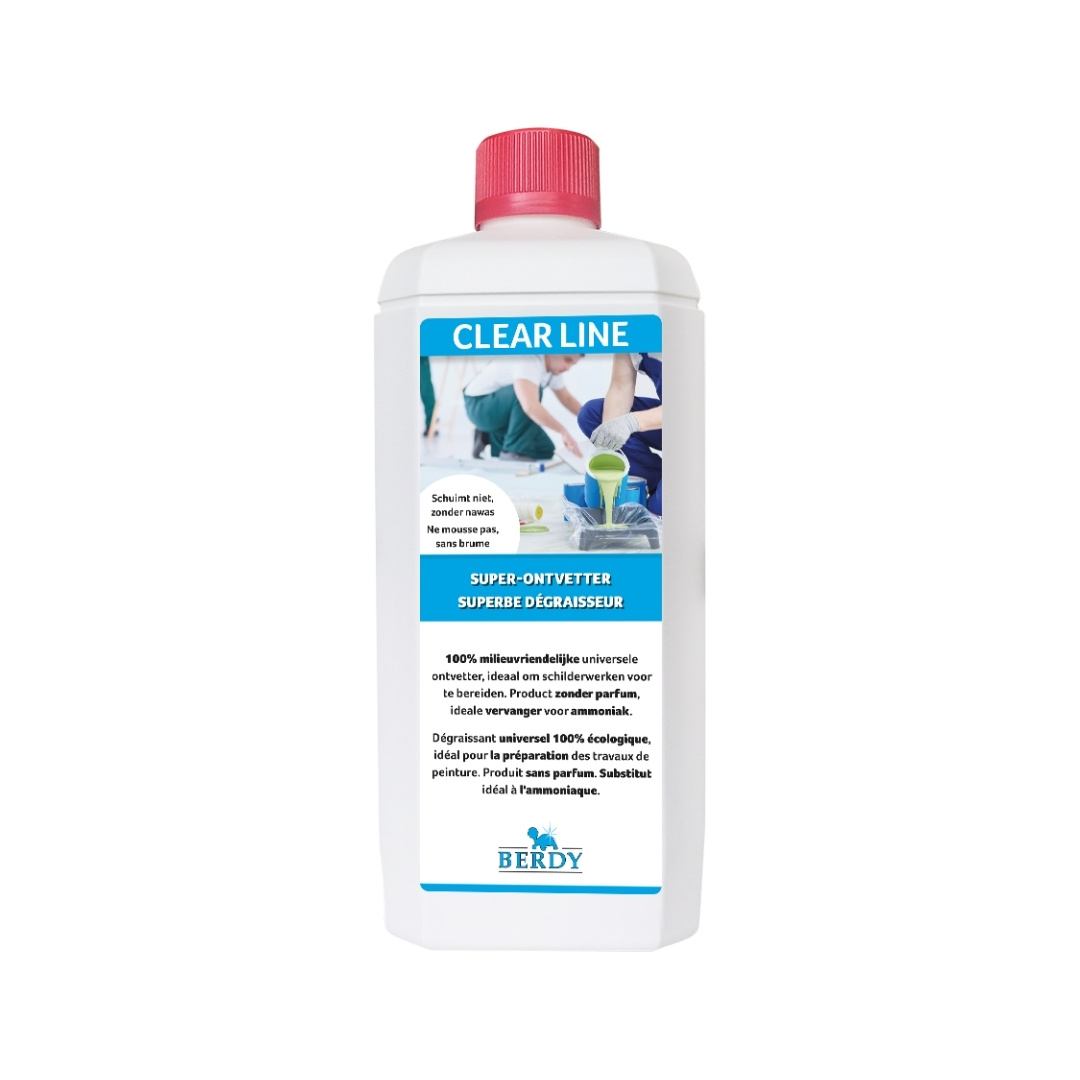
With exterior doors, you'll need to pay even more attention to proper cleaning beforehand than with interior doors. Start by removing all loose paint, dirt and dust from the door. Clean the door thoroughly with soap and water or use a good degreaser diluted in water, rinse and allow to dry completely. If your front door is very dirty, a pressure washer may come in handy.
Was the door painted before and is the paint coming loose? Then it's best to remove the old paint layer, for example with paint remover.
Furthermore, especially with wooden doors, it's important to give the door a good sanding. This will ensure that the surface lends itself better to good adhesion. On the other hand, a smoother surface will also help you achieve a tighter end result. Remember: after sanding the door, make it dust-free again.

Step 2: apply primer
- Use an appropriate primer: for wood or PVC/alu, for outdoors.
- Apply one nice coat of primer.
- Or skip this step if the door has been painted previously.
Wooden doors
For exterior wooden doors, you should use... 🥁 No surprise: an exterior wood primer! 🙃 Examples are: Sikkens Rubbol Primer or Sigma Tigron Primer, both synthetic paint primers. If you paint a new or untreated wooden door, or have sanded it down to bare wood, you may apply one coat of it. That should usually be enough.
Alternatively, you could choose a (also solvent-based) one-pot system, for example, Sigma Amarol Triol or Sikkens Rubbol EPS. With this, you use the same paint as a primer, intermediate and final coat. That's three layers in total.
Has your wooden front door received a nice coat of paint (or two, three) before, and more importantly, does that coat of paint still look good? Then you can skip this step and put a new final coat on it right away (see step 3).
PVC / aluminium doors

Step 3: paint the door
- Finish off with one or two coats of lacquer.
- Remove the tape or put the door back.
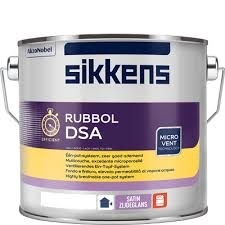
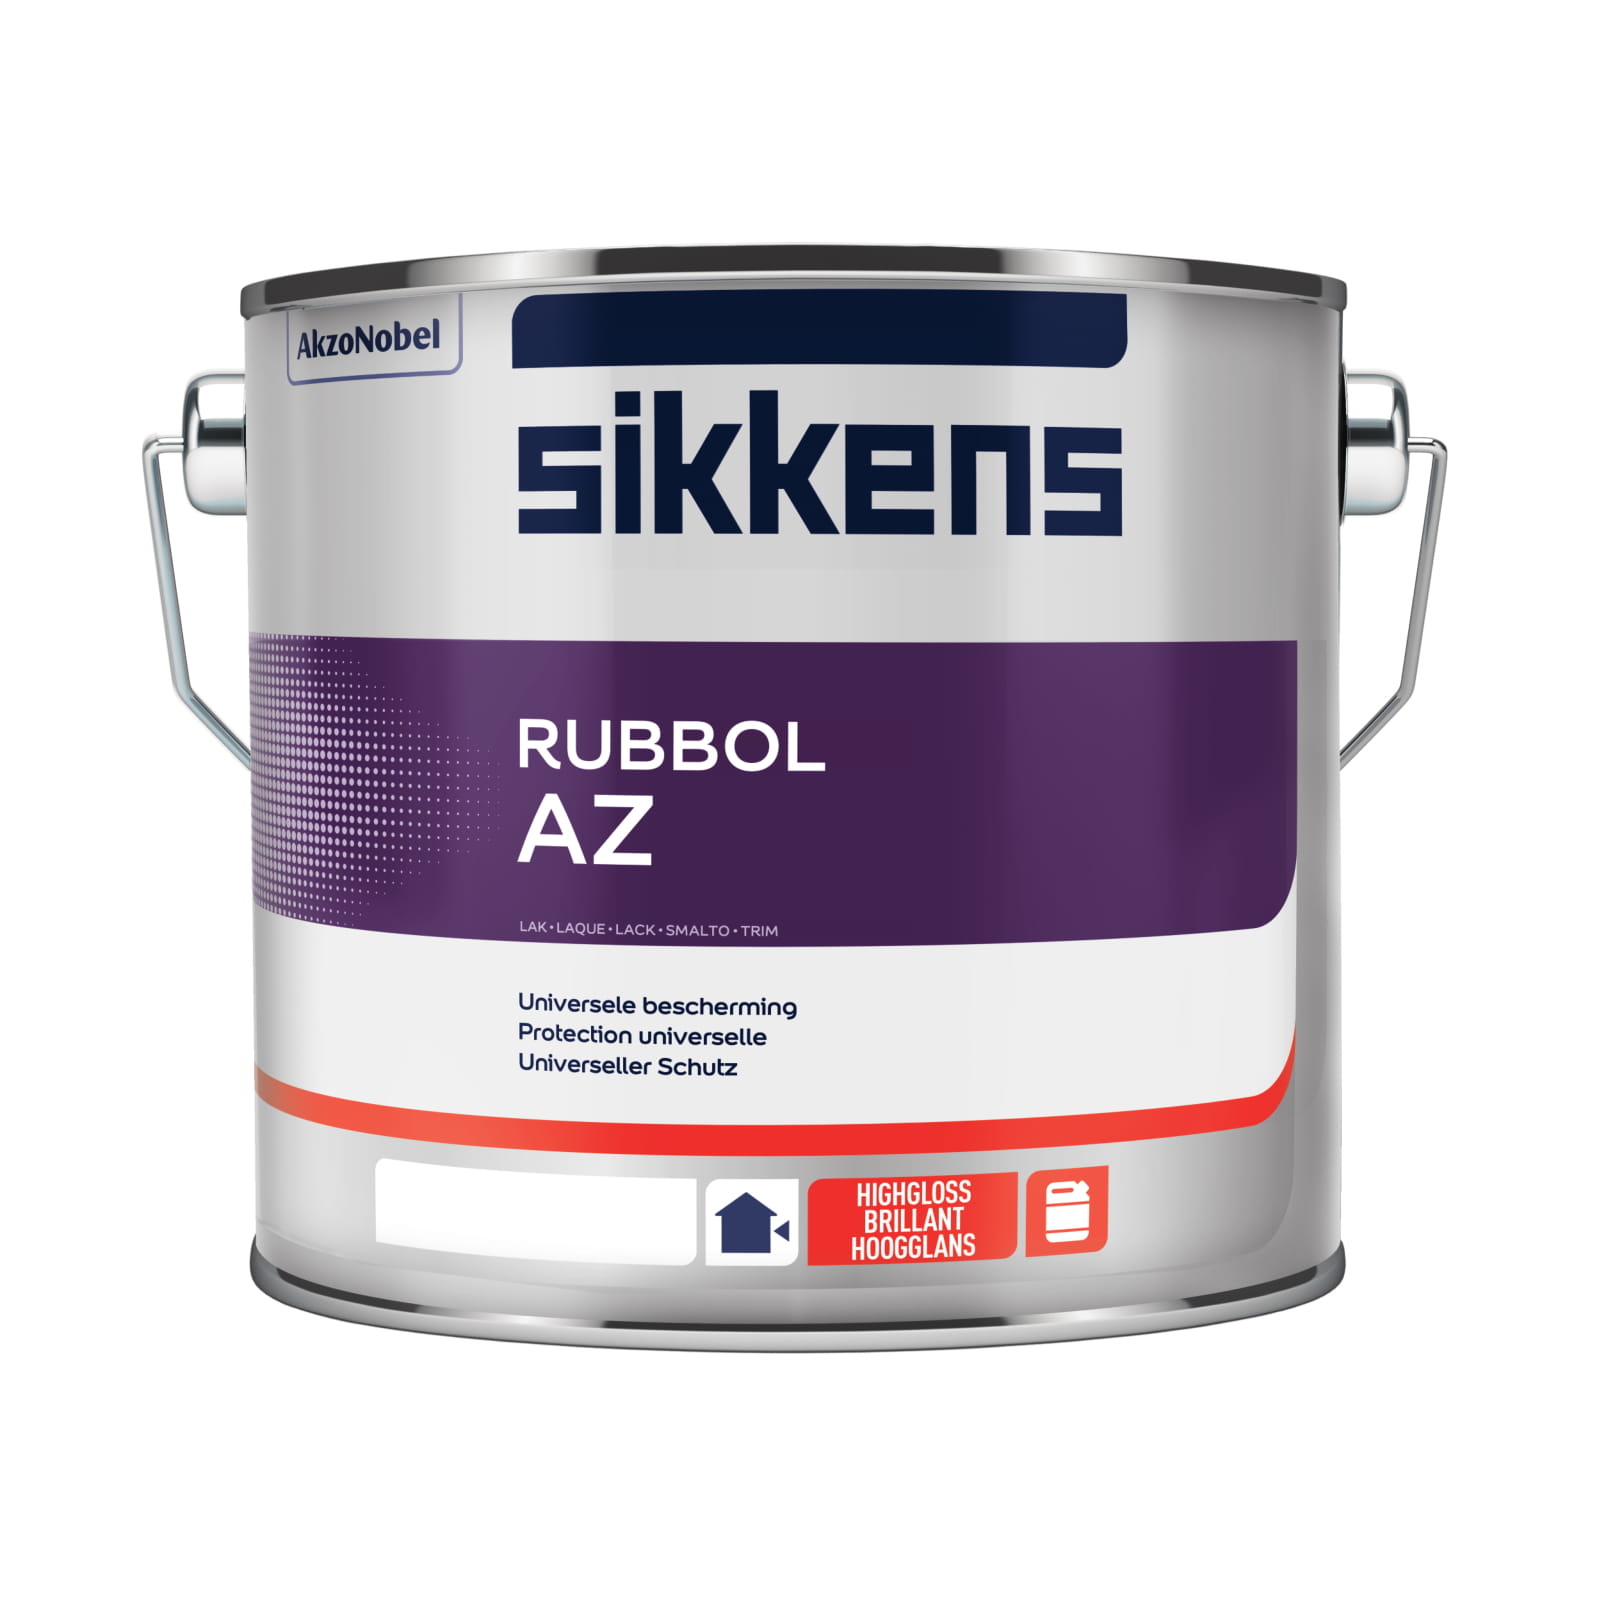
Good news: choosing paint for your exterior door isn't difficult at all if you've already applied the right primer! You can choose from a whole range of synthetic paints, such as Sigma Tigron paints, Sikkens Rubbol paints or Levis Expert Wood Lacquer Outdoor High Gloss or Satin.
If you were already using a one-pot system, then of course you just continue painting with that at this step.
How to paint the front door without streaks?
See, you've come a long way in painting your front door, good job! 💪 So now it's time for the final step: the finishing touches.
Here at Tintrio, we are often asked how to paint the front door without streaks. In that case, it's best to use a brush or rather a roller, or doesn't it matter that much?
In any case, it's essential that you choose a lacquer with a good flow, i.e. that the lacquer flows open and forms a smooth(er) layer of paint in which you'll see few or no stripes. Synthetic lacquers generally have a better flow, fortunately, because they dry more slowly, so you already have that advantage!
For the very best results, we do recommend choosing a paint roller matched to that synthetic paint, such as the Anza Platinum Antex Microfibre roller or the Progold paint roller felt.
Three more tips for streak-free results:
- Wait for the right (outdoor) temperatures to plan your painting work, make sure it isn't too hot.
- No paint, no flow. If you work with water-based lacquer, make sure you take enough paint on your roller and don't apply too much pressure while rolling, so that your paint layer is thick enough. Note that if you're working with a synthetic lacquer, it's the other way round: you do have to roll it open well, because it's harder to handle.
- Keep going. Try to completely finish the door in one go, and also try to keep a good pace.
When can the door be closed again?
Yet another question we sometimes get: when can the door be closed again? Of course, the paint really does have to be dry before you can use your door again. This can take a few hours, sometimes up to a day or more, depending on the drying time mentioned in the paint's technical data sheet and on the conditions (think of the temperature outside or the humidity).
Bear in mind that the drying time in the technical data sheet is based on an ambient temperature of 20°C. So if it's very cold when you paint, your paint will need just a little longer to dry. Especially with synthetic paints it's important to pay attention to this, as they need sufficient time to harden.
Patience is the key here. What you can (and even should) do while the paint is still wet is remove the tape.

More information and inspiration 💡
Read on in-depth about how to paint a door in high gloss or the differences between water-based and solvent-based paint, or get colour inspiration for your front door.
Find the right paint for your doors outside
Ready to get started, but no idea what products you need? In our step-by-step plan you'll find a link to all paints and supplies. Each step shows you exactly what you need to paint your outside doors beautifully. Below you'll also find a list of all products.
Want to explore all the options yourself? Then you can find extensive info in our paint guide. Including professional recommendations for those who want top-class paintwork.
If you already know what you're looking for, you can browse through our paint for doors and windows category.


