Wall painting 101
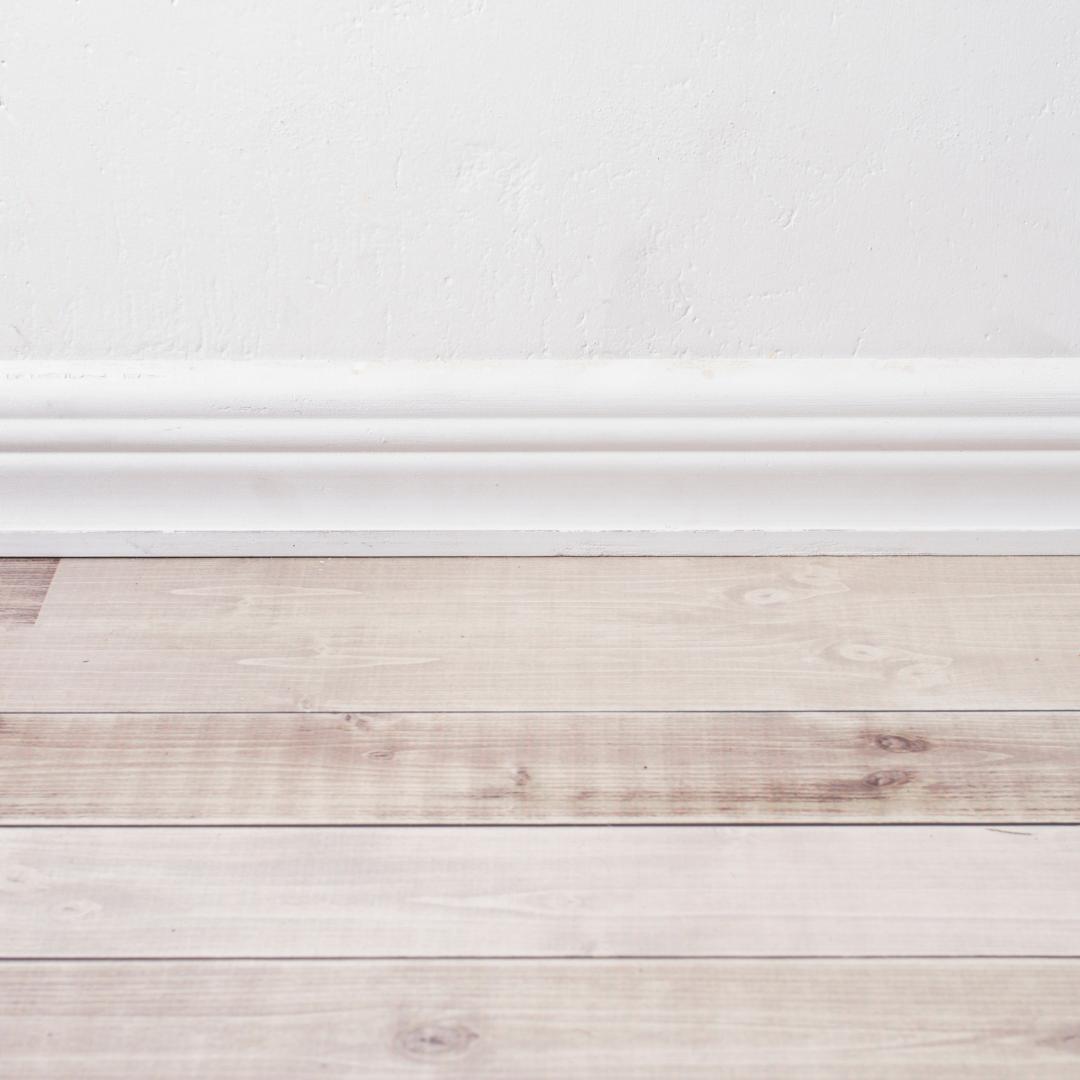
➡️ Also want to know how to paint skirting boards? Then be sure to continue down this page.
➡️ Looking to paint your ceiling? Then check our guide on how to paint a ceiling.
➡️ Need to fix some holes or cracks before painting? Read how to putty your wall here.
Step 1: the proper preparation
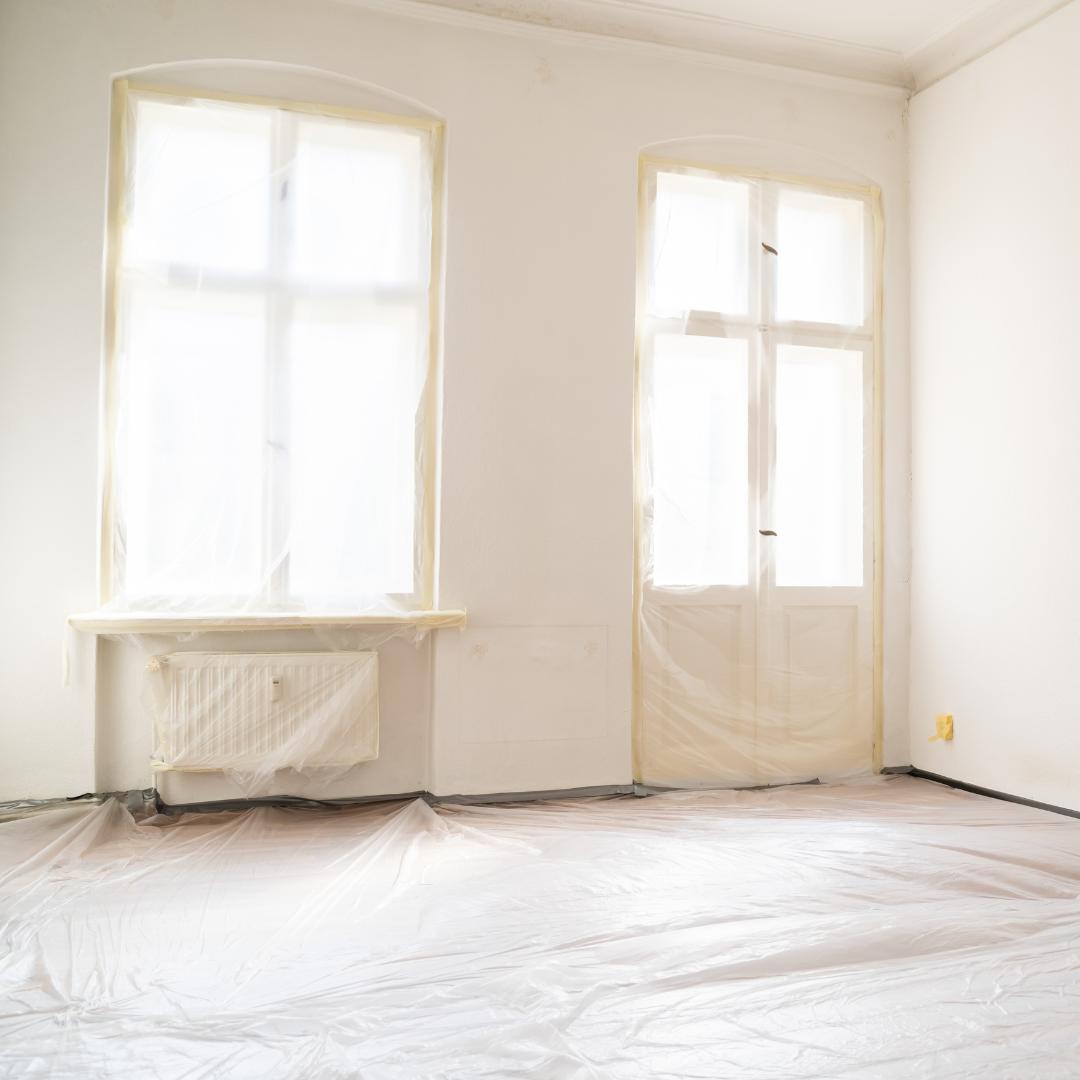
- Use masking tape for skirting boards, window and door frames
- Also tape off adjacent walls or ceilings if necessary
- Cover the floor with covering board
The first step is to ensure that everything that is not a wall is not painted along.
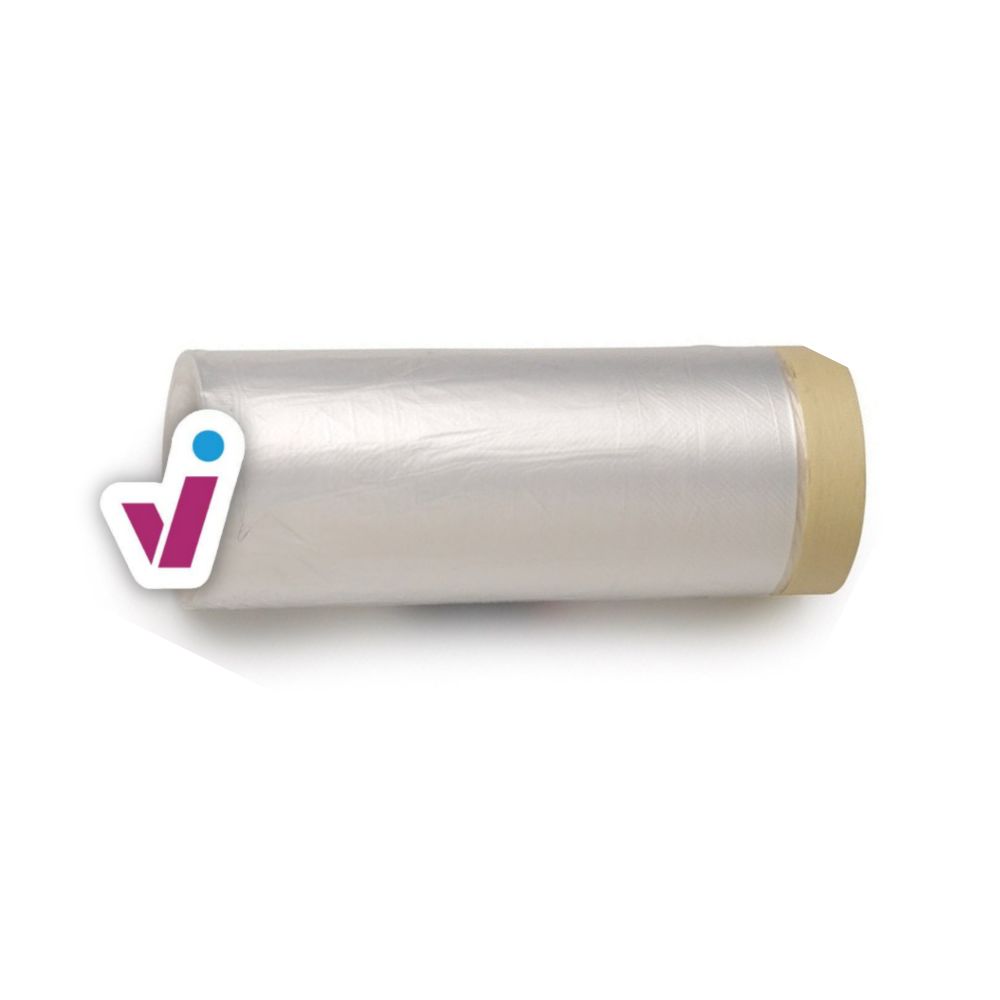
You can easily cover the floor with covering cardboard. Skirting boards and window frames can be neatly masked off with masking tape. But clean them well first, as they can get dusty. And you can cover radiators with foil (but remember to turn them off first!).
Even if there are adjacent walls or ceilings that do not need to be painted, it is best to tape them off. You can find which masking tape to use on which substrate in this handy matrix by Sigma and ProGold.
Step 2: check and treat the substrate
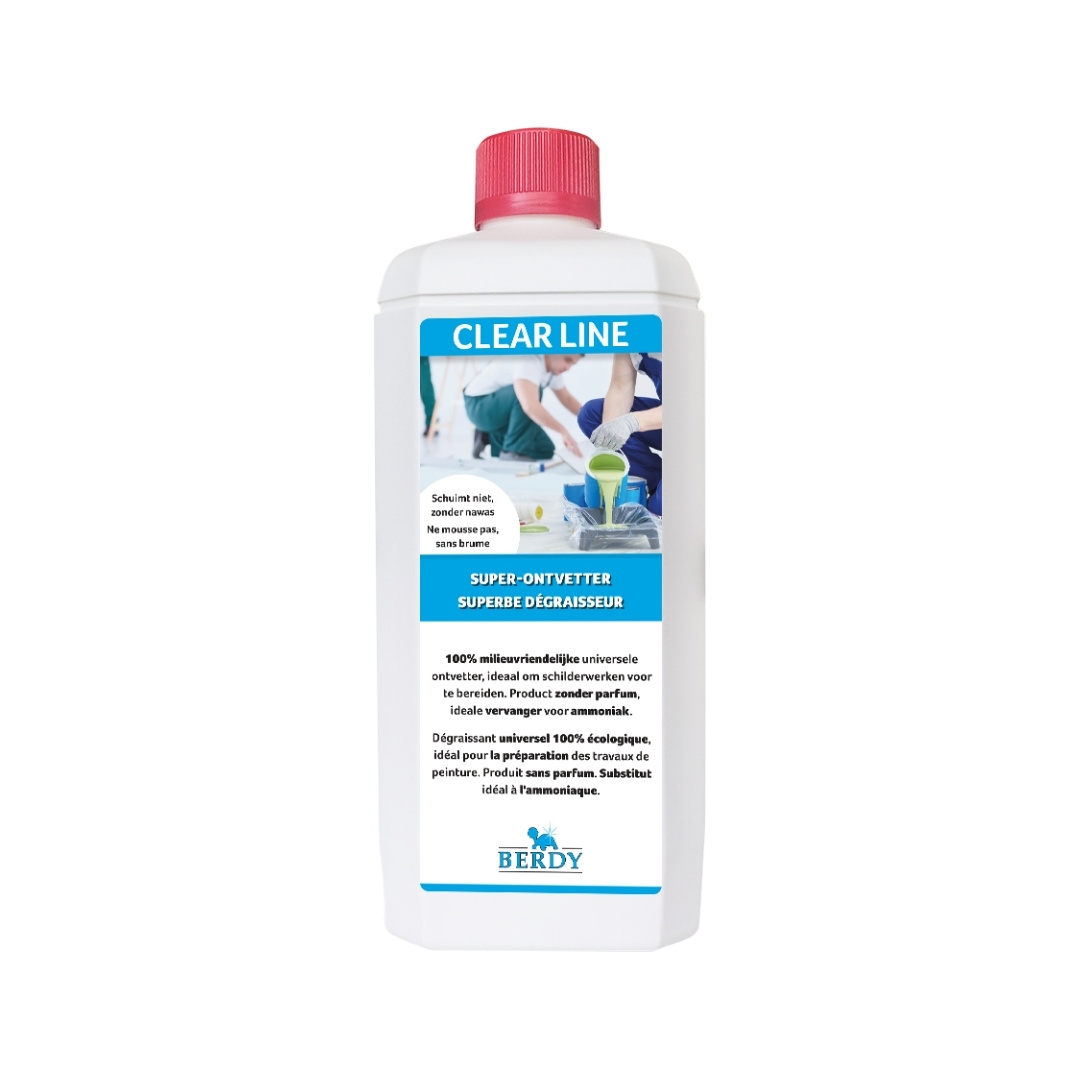
- Clean and degrease the wall very well
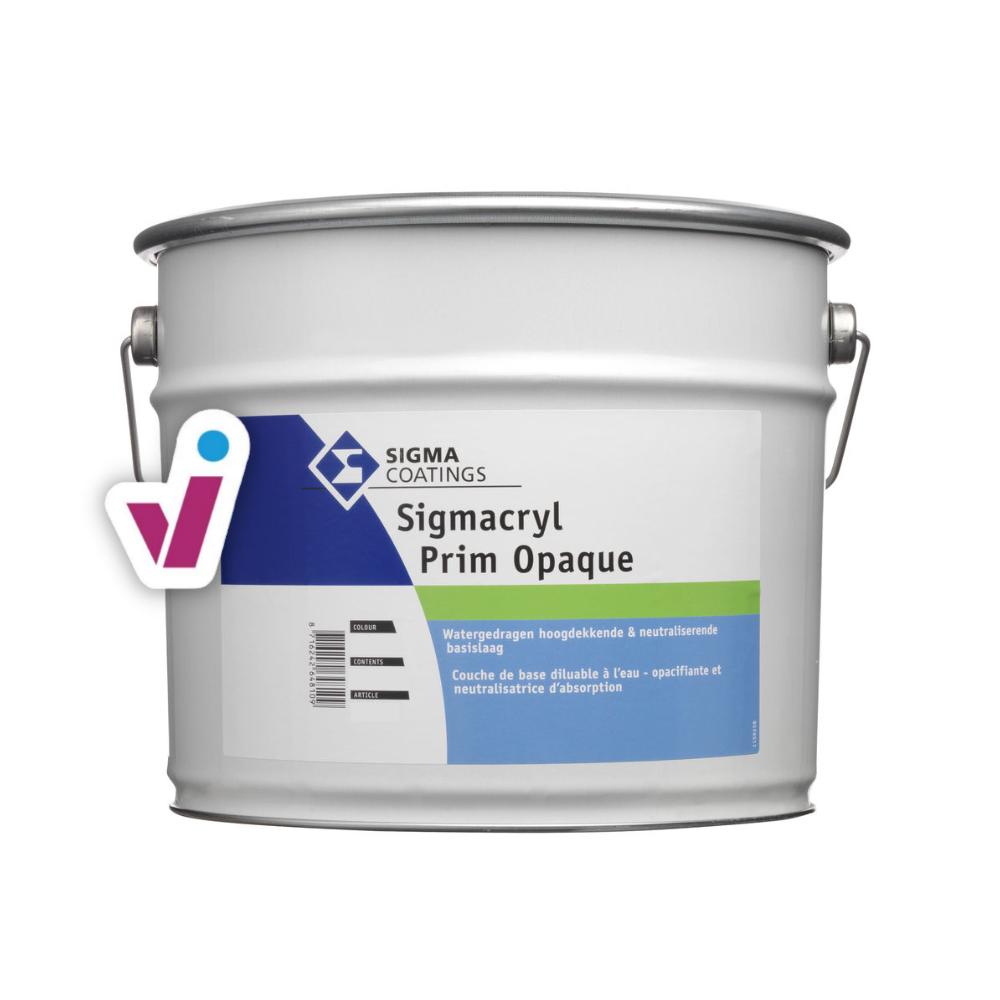
- Apply fixative and/or an appropriate primer*
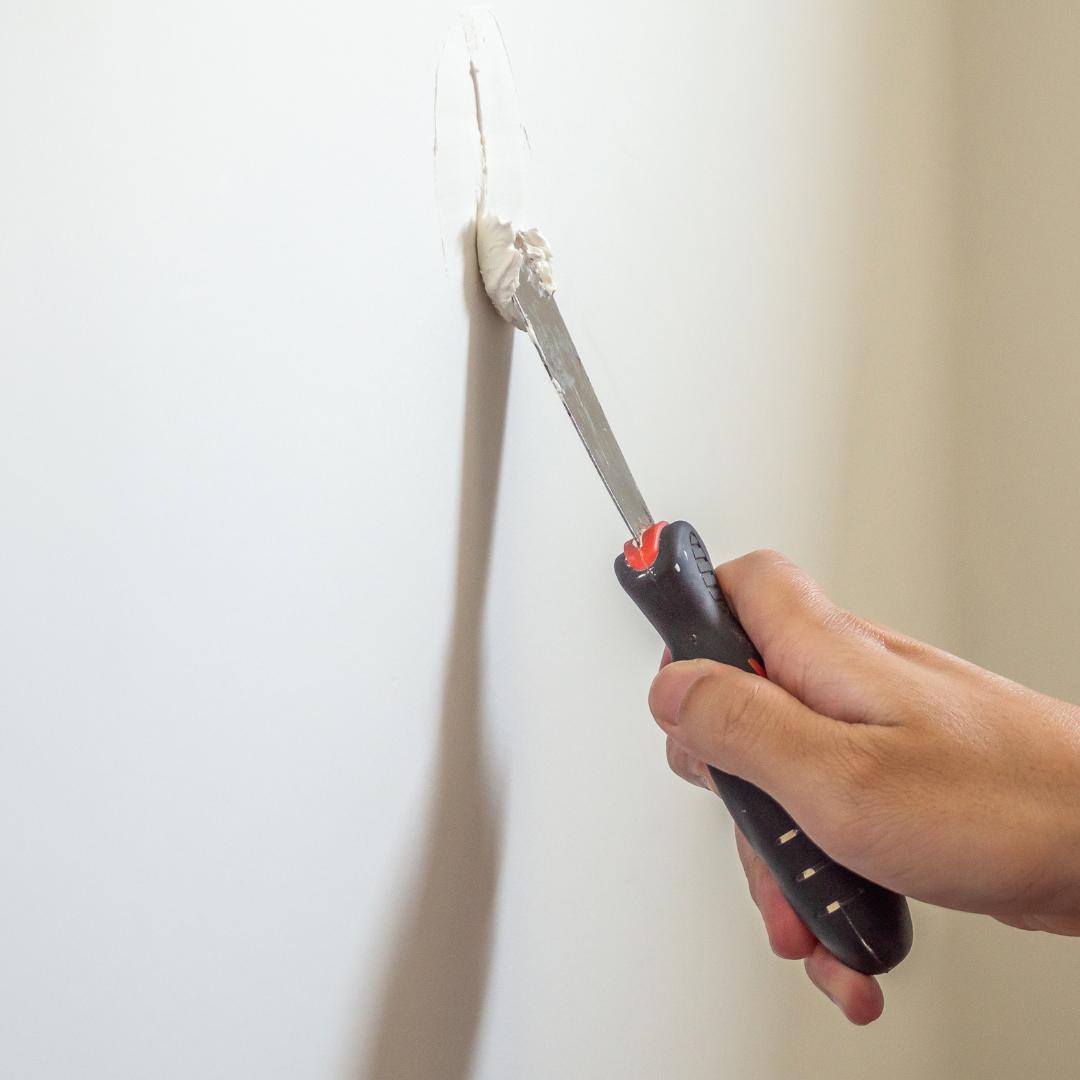
- Fill holes or cracks*
The second step is to take a good look at what state your walls are in. Depending on that, you will either have little to no work here, or just a little more work.
A previously painted wall
Good news if your wall has already been painted once and the paint layer still looks good. Then you won't have much extra preparation work! Indoor walls tend to accumulate some dirt and/or grease deposits. Those need to be removed before repainting the wall so that the paint can adhere properly.
To clean your interior wall, a simple cleaning agent will suffice. Then you can immediately start on step 3.
An unpainted or absorbent wall
Walls that have not been painted before, for example new plaster or brick, often form an 'absorbent surface'. In other words, the paint you apply will partially soak into the wall and you need to adjust for that.
How do you know if you are dealing with an absorbent surface? Very simple: test the wall by spraying a little water on it with a plant sprayer. Is the water absorbed into the wall very quickly? Then you have a (highly) absorbent substrate.
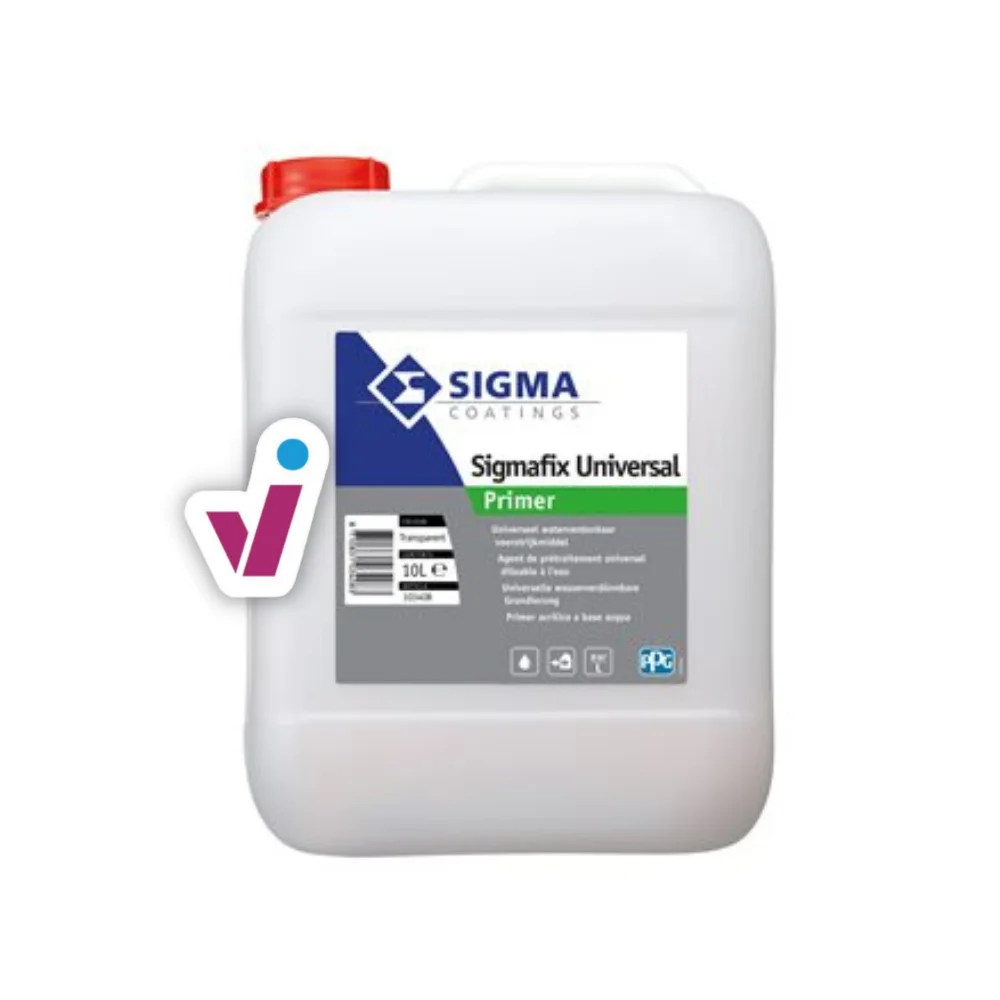
In that case, it is important to apply a fixative to your walls first, followed by a good primer. These will ensure that your wall paint will then stay nicely on your wall.
A wall with holes, cracks or other damage
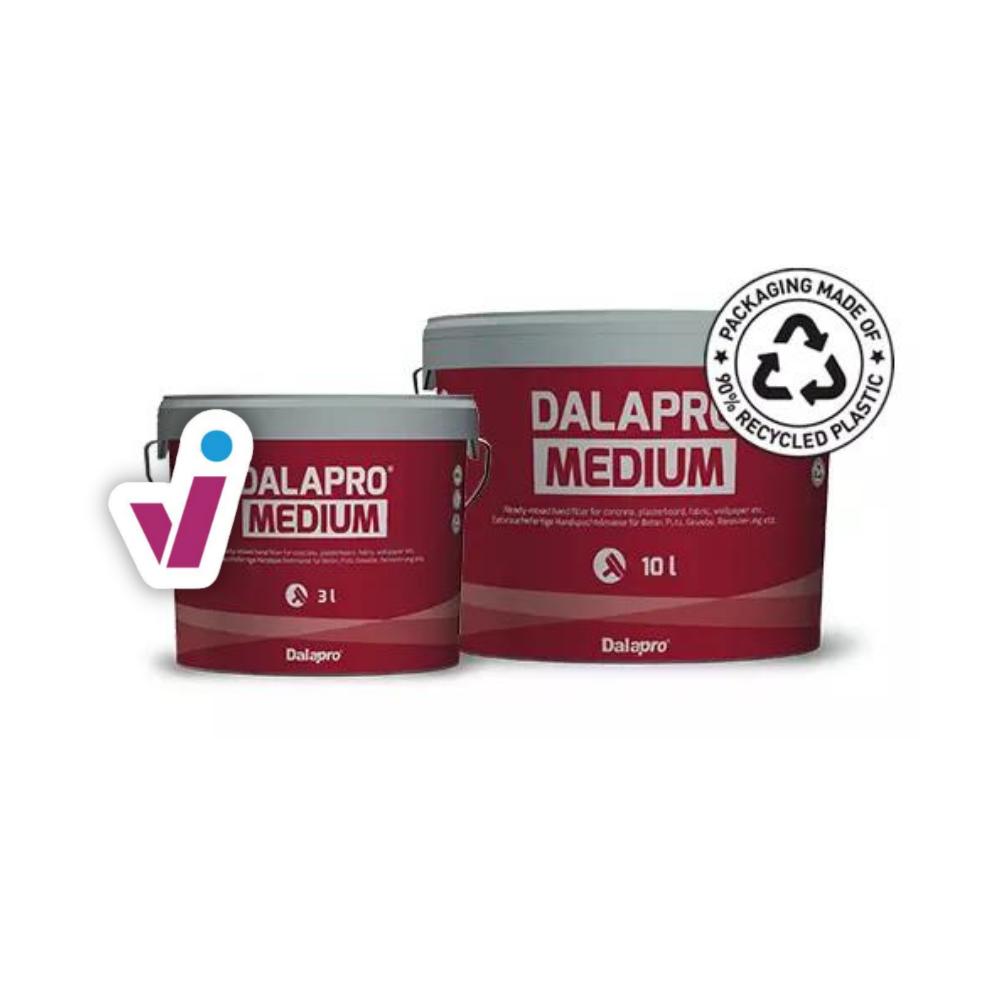
Perhaps you would like a nice plain result. If there are (drilling) holes, small cracks, pits or other small irregularities in your wall, you can fill them out before painting.
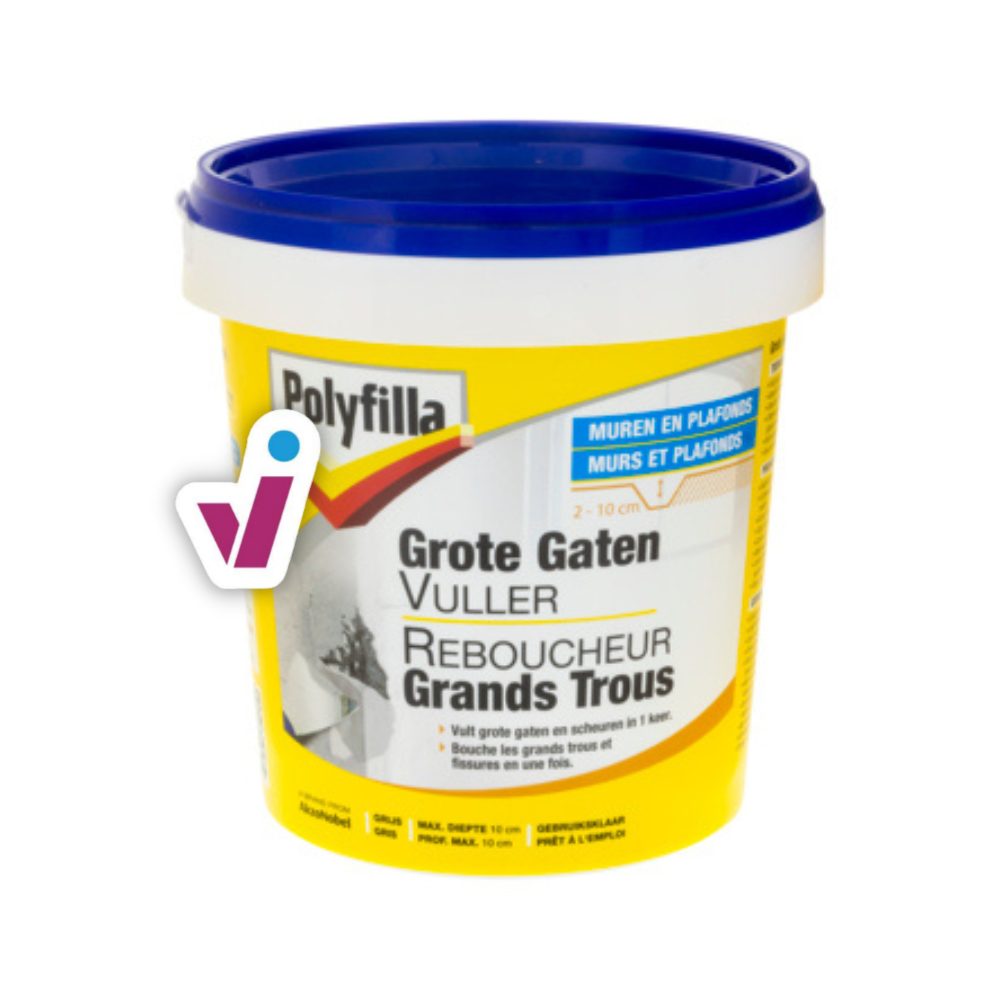
For larger holes, you need an adapted filler. Lightly sand the wall before you start painting.
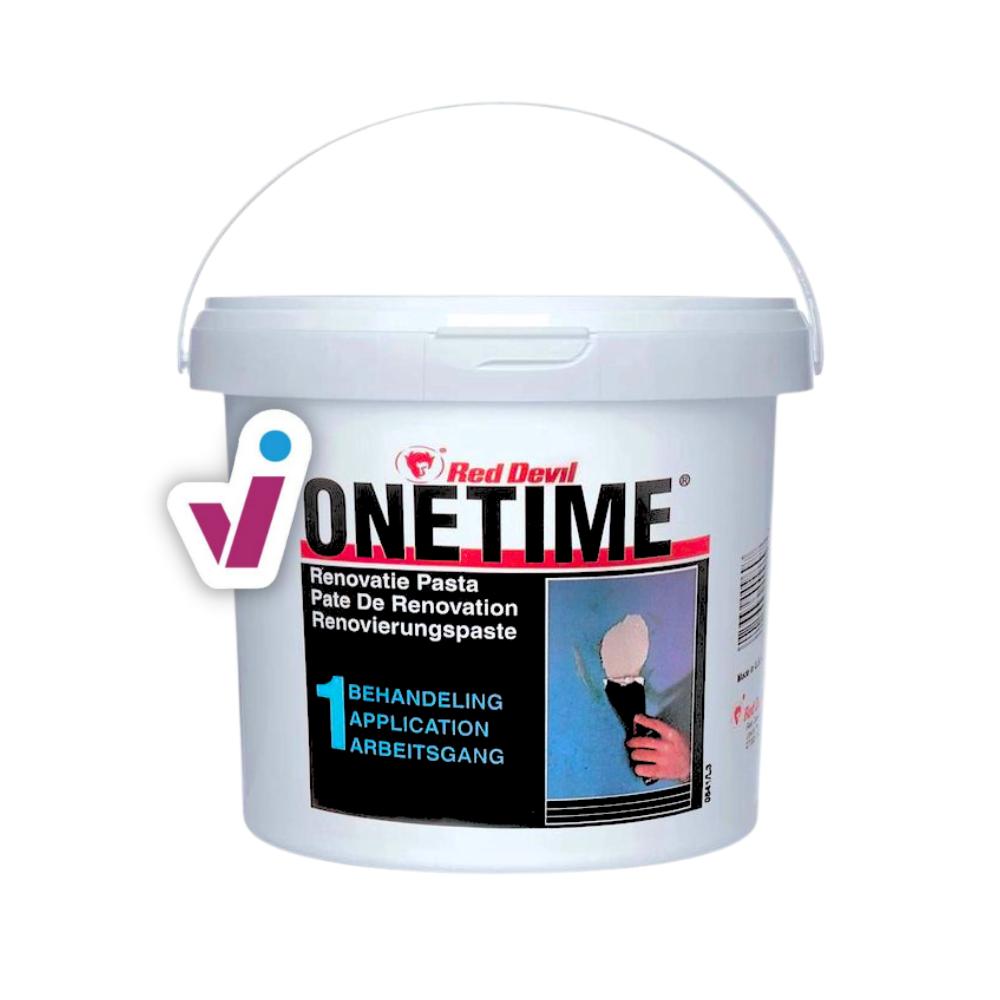
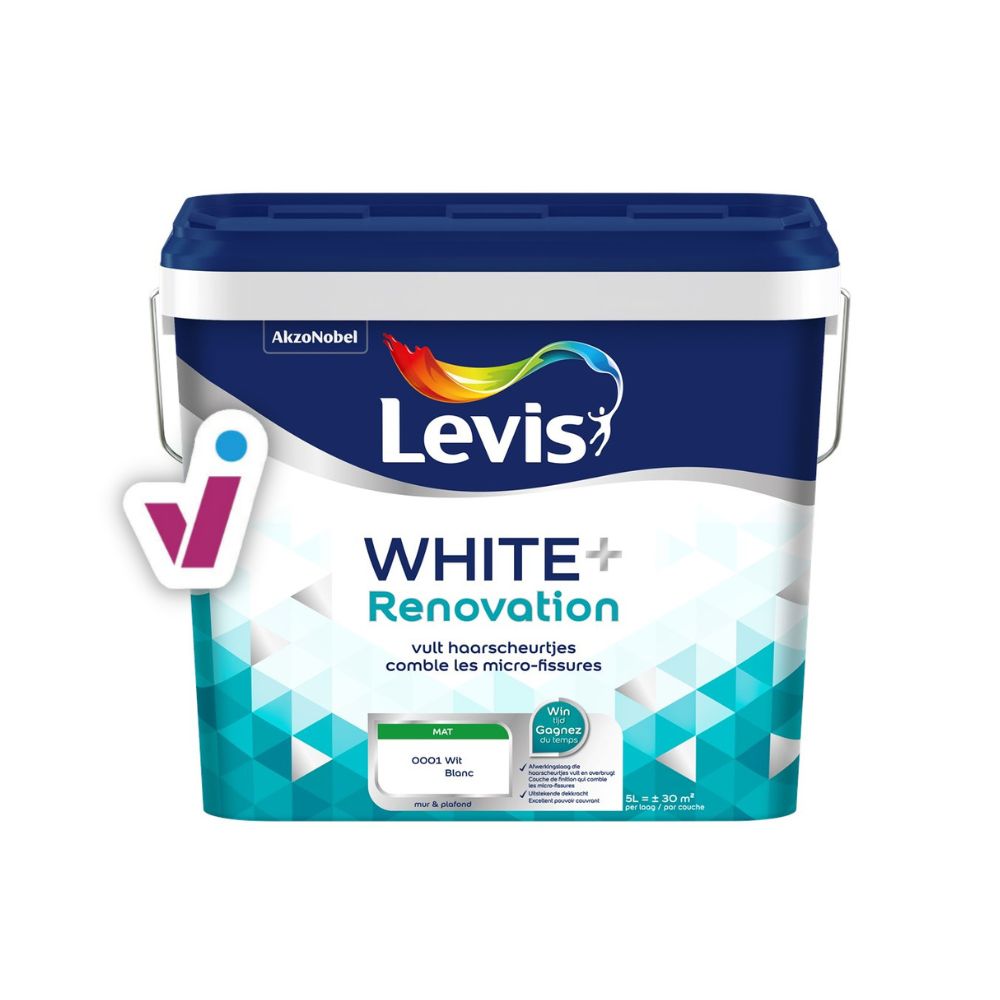
Do you see miniscule blemishes, such as hairline cracks or visible pores, in the plaster? And would you like to get rid of them? Then a renovation paint might come in handy.
Do you find it difficult to estimate exactly which remedy you need for the damage to your interior wall? Then ask our experts for advice.
A wall affected by moisture or mould
Here, it is important to tackle the moisture or mould problem first. After all, it will be difficult to apply paint on a damp wall.
Damp-proof paint is also not the solution to the problem, but rather an aid to avoid repetition of the problem in the future, when combined with moisture control. Once you have tackled the moisture issue, then it is useful to apply an insulating primer first.
Especially in rooms like kitchens or bathrooms, where there is often vapour and condensation, damp-proof paint is a good idea.
Step 3: paint the walls
- Start with hard-to-reach areas
- Work away from the largest light source
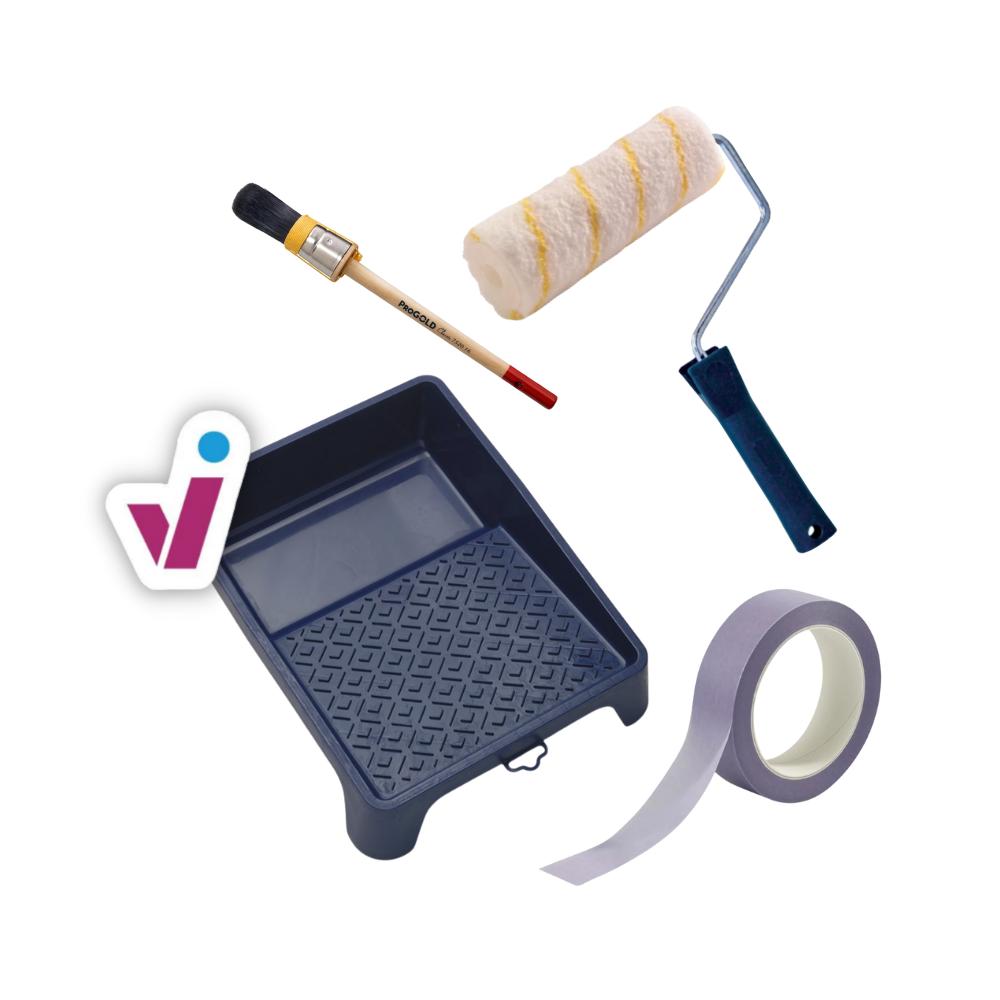
- Use a brush and an anti-splatter roller
- Work in smaller, overlapping areas
After you have completed all the preparatory work, you can start the most fun part: painting your interior walls in a wall paint and colour of your choice. Here are some tips to keep in mind while doing this:
- First paint the places you can't easily reach, such as behind a pipe or a radiator;
- Start where you have the most light (around the largest window, for example) and work away from there;
- Around window and door frames, skirting boards, etc., it is easiest to paint just next to the tape with a brush first, and then continue painting the adjacent piece of wall with a roller. When doing this, be sure not to wait until the paint you applied with the brush is dry;
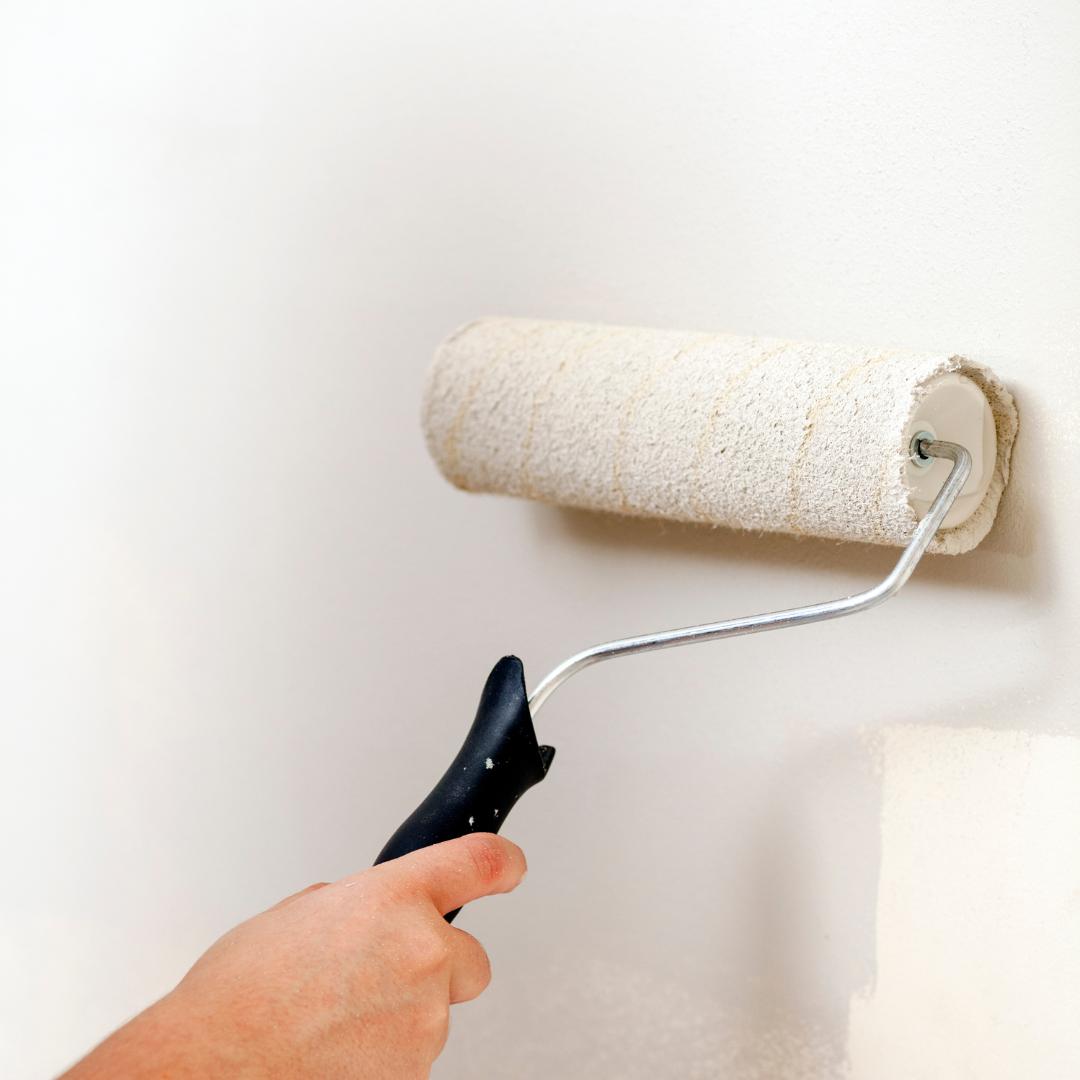
- Painting walls without streaks? With the paint roller, it is best to divide your wall into imaginary pieces of about 1 m². Again, make sure you overlap each piece while the paint is still wet. Roll in different directions for the least chance of streaks. A paint that is known for its streak-free finish naturally also helps 😉
Wall paint: drying time
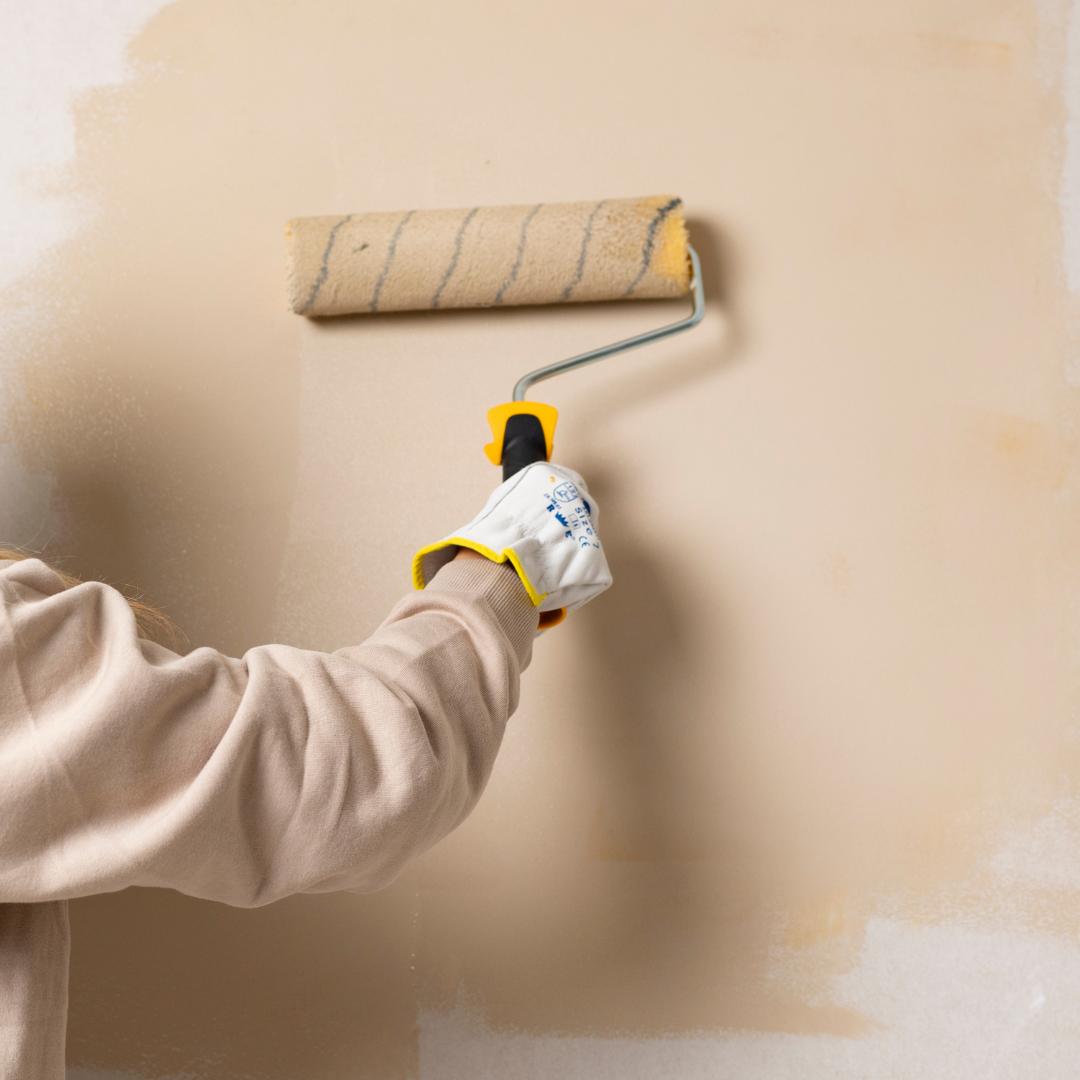
Paint your interior walls with the right paint
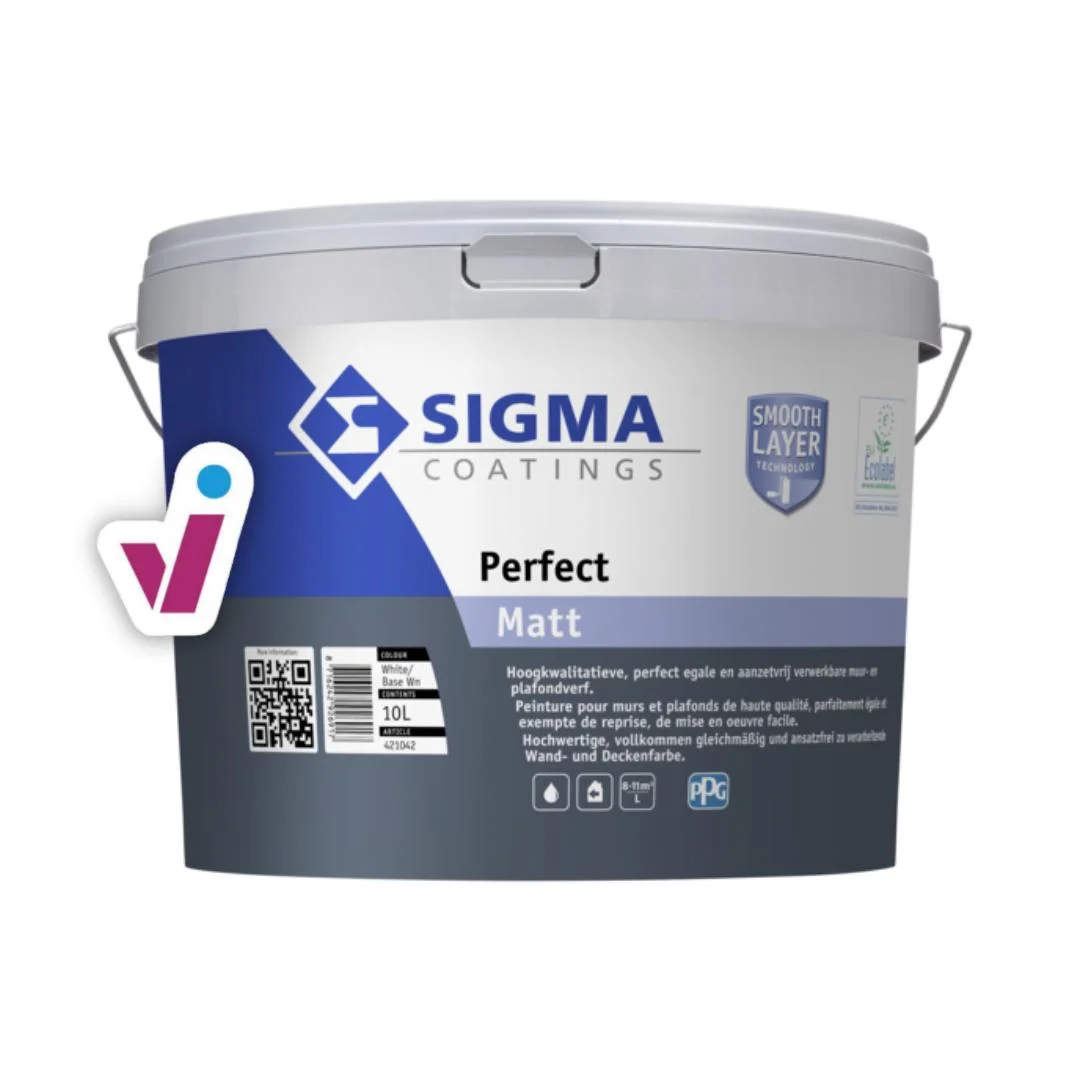
There you go. You now know how it is done! Of course, you still need the right interior wall paint. We're happy to get you started below with some top products for each application. Or you can read more about which paint you need for your walls and ceilings.
If you already know what you're looking for, you can browse through our wall paint category.


