How to: paint the stairs
"How do I properly prepare for painting the stairs? How does one paint stairs? And which paint can I use?"
To all of these questions, we have the answer for you, right here! This page is all about how to paint wooden stairs, explained step by step, and with handy product recommendations!
Step 1: Preparation
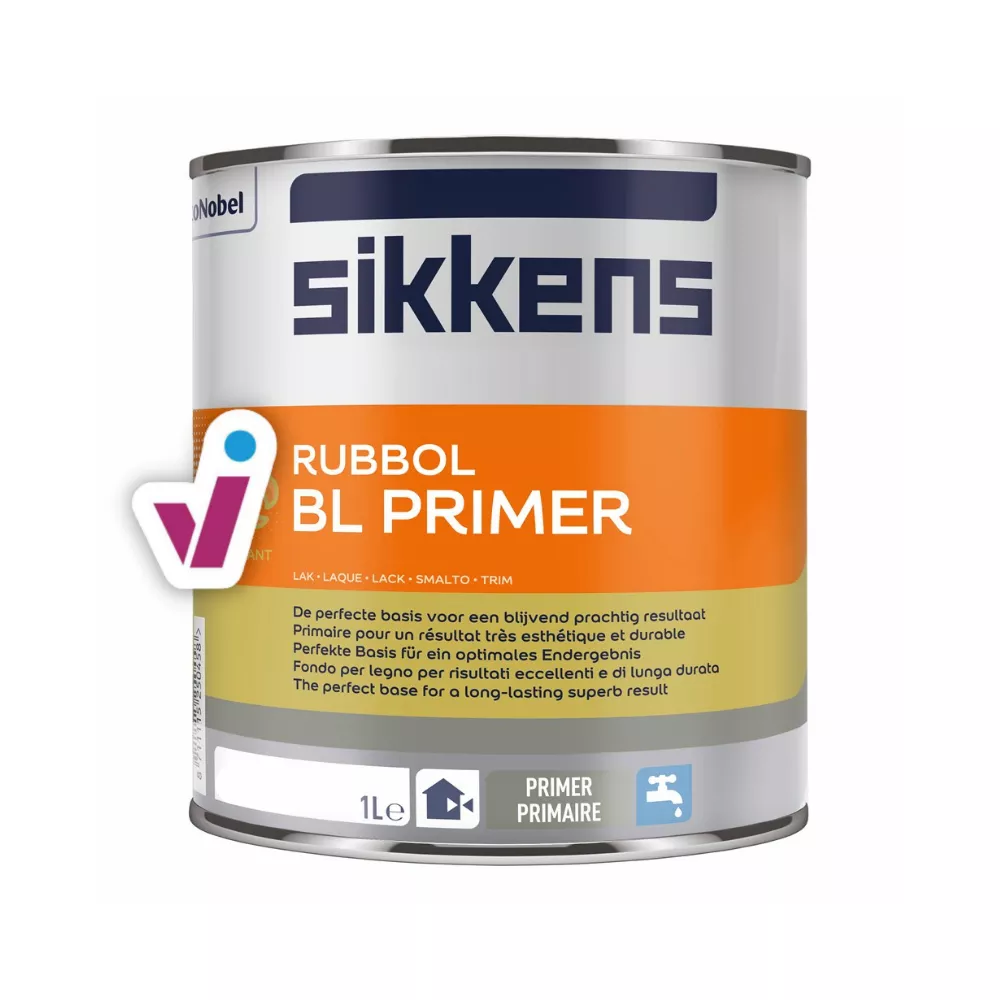
Step 2: Applying primer
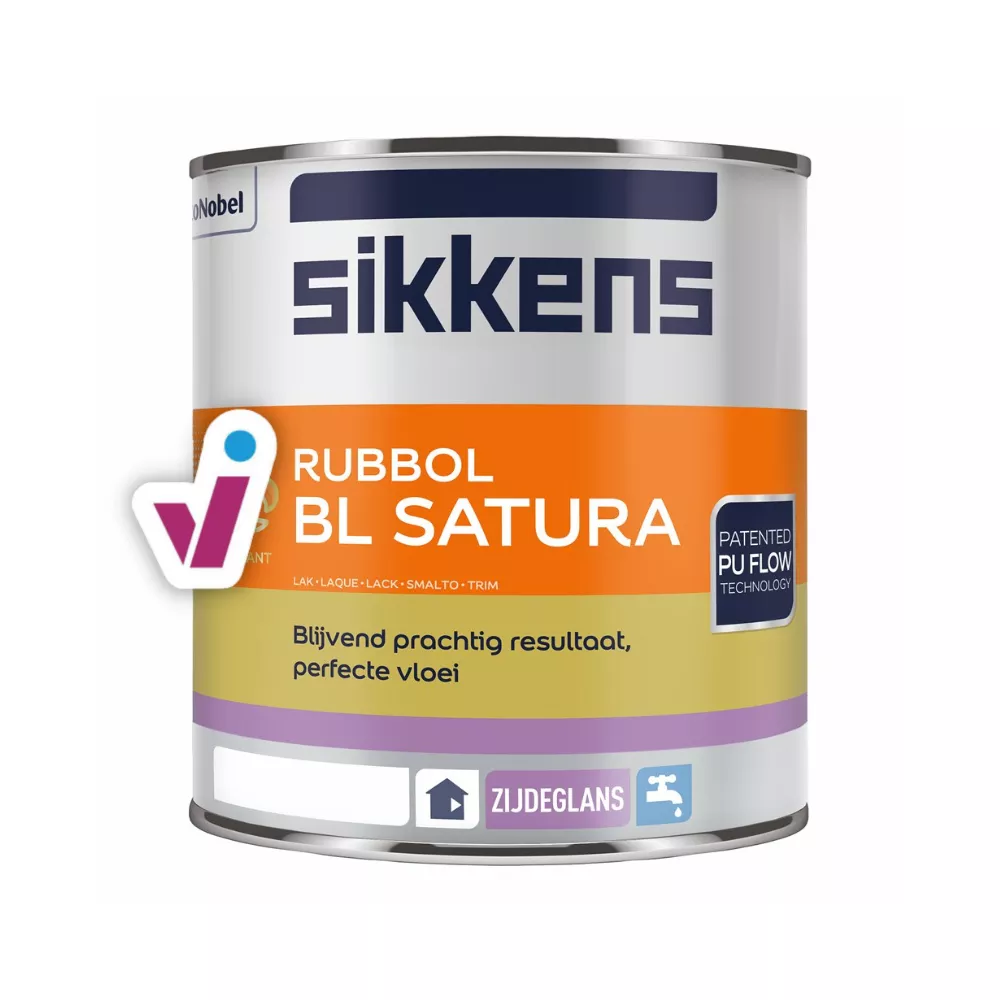
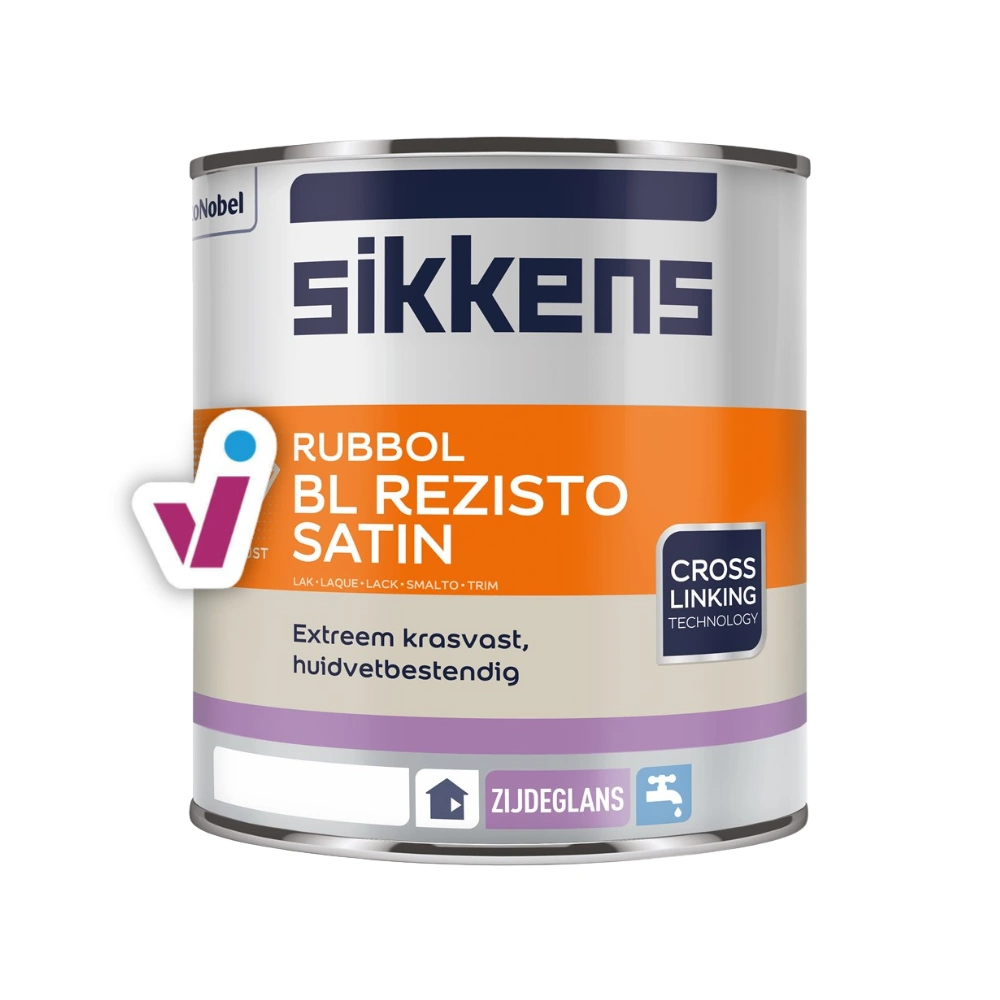
Step 3: Lacquering

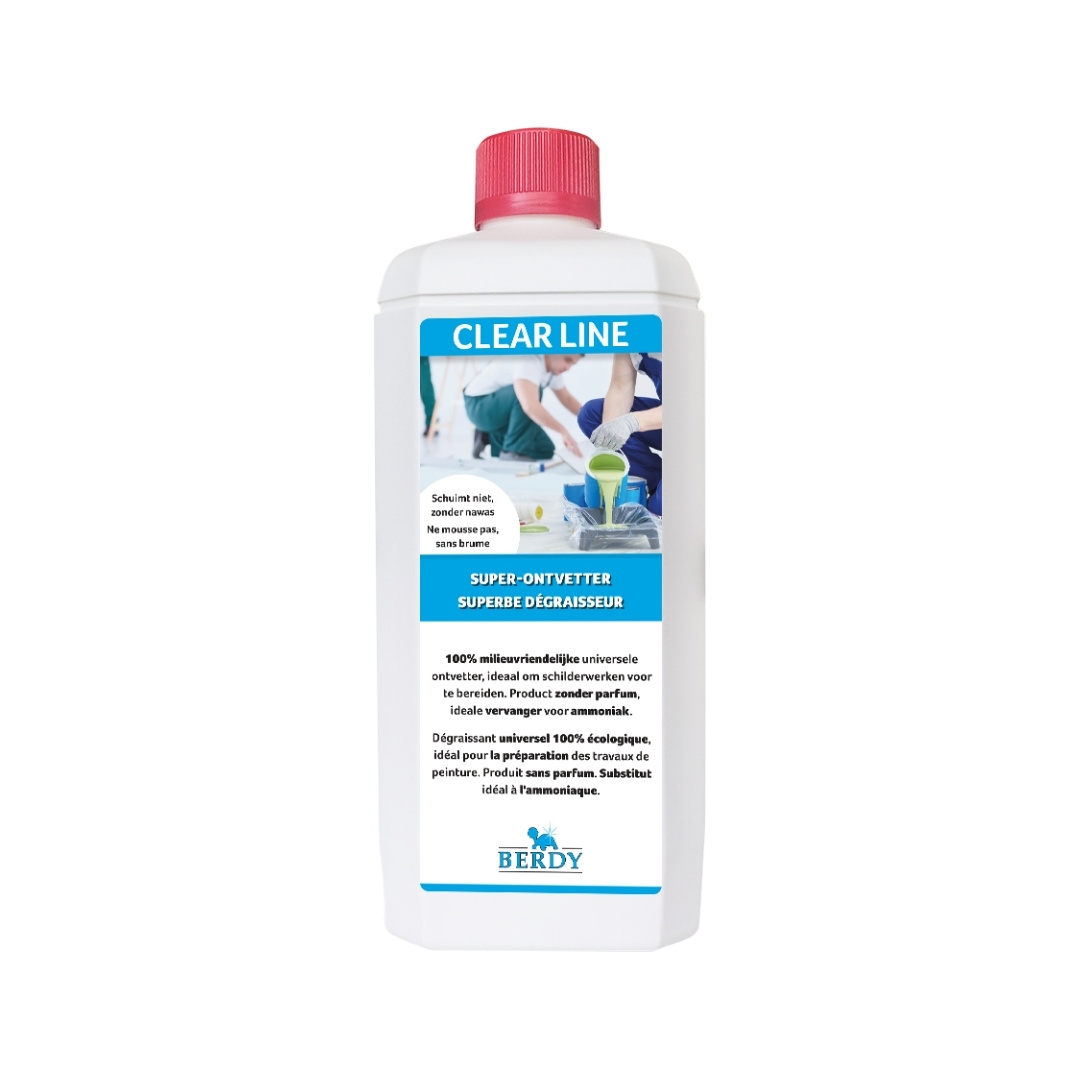
Before you can start painting, you should do some preparatory work. First, make sure the stairs are clean and degrease them with a product like Berdy Clearline and a wet cloth.
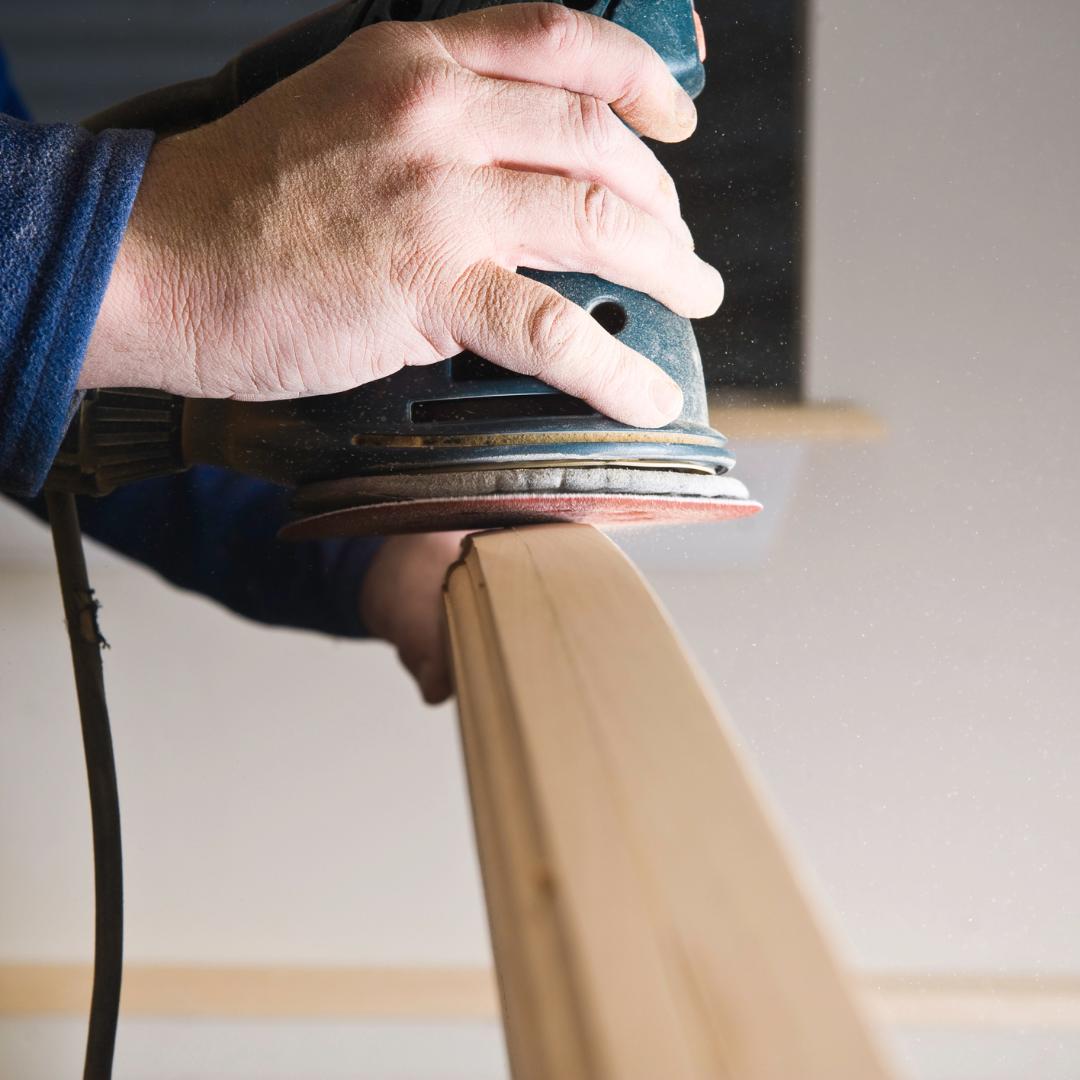
Next, start sanding the stairs. To just roughen up the surface a bit, sanding paper with a fine grain will do. If old paint layers have to be removed, you will need a larger grain size. Loose paint also needs to be removed first.
After that, it's also a good idea to check the stairs for irregularities, cracks, etc. Small damages can be corrected with a wood filler. Open joints can be fixed with a kit.
Do not forget to tape off adjacent walls if necessary, or to cover the floor underneath the stairs.
There, your stairs are now perfectly prepared! Time to start with the primer.
Priming is very important, as it will ensure a strong adhesion between the wood and paint. Because of its importance, you will be applying two coats of primer and only one finishing coat.
Here's an easy way to remember the order to paint your stairs in:
- outside inwards (first the sides, then the steps)
- and top-down
💡 Extra tip: still need to use the stairs? Skip every other step and paint them only after all the other steps are painted. As soon as you start primering the skipped steps, make sure to mask the finished ones with tape. That way, you can safely use the stairs!
As we said earlier, the strongest paint system for your stairs consists of two layers of primer followed by one finishing coat.
We prefer to use water-based lacquers for stairs, as synthetic paints have longer drying times, which is not very convenient in this case. Other than that, we recommend satin gloss lacquers. Why? The higher the gloss level, the stronger the lacquer. But also, the higher the gloss level, the more you might see irregularities. Satin gloss sits right in between those two. Bonus points for lacquers who meet the two latter criteria and are anti-slip on top of it, such as Sigma S2U Nova Traplak Soft Satin.
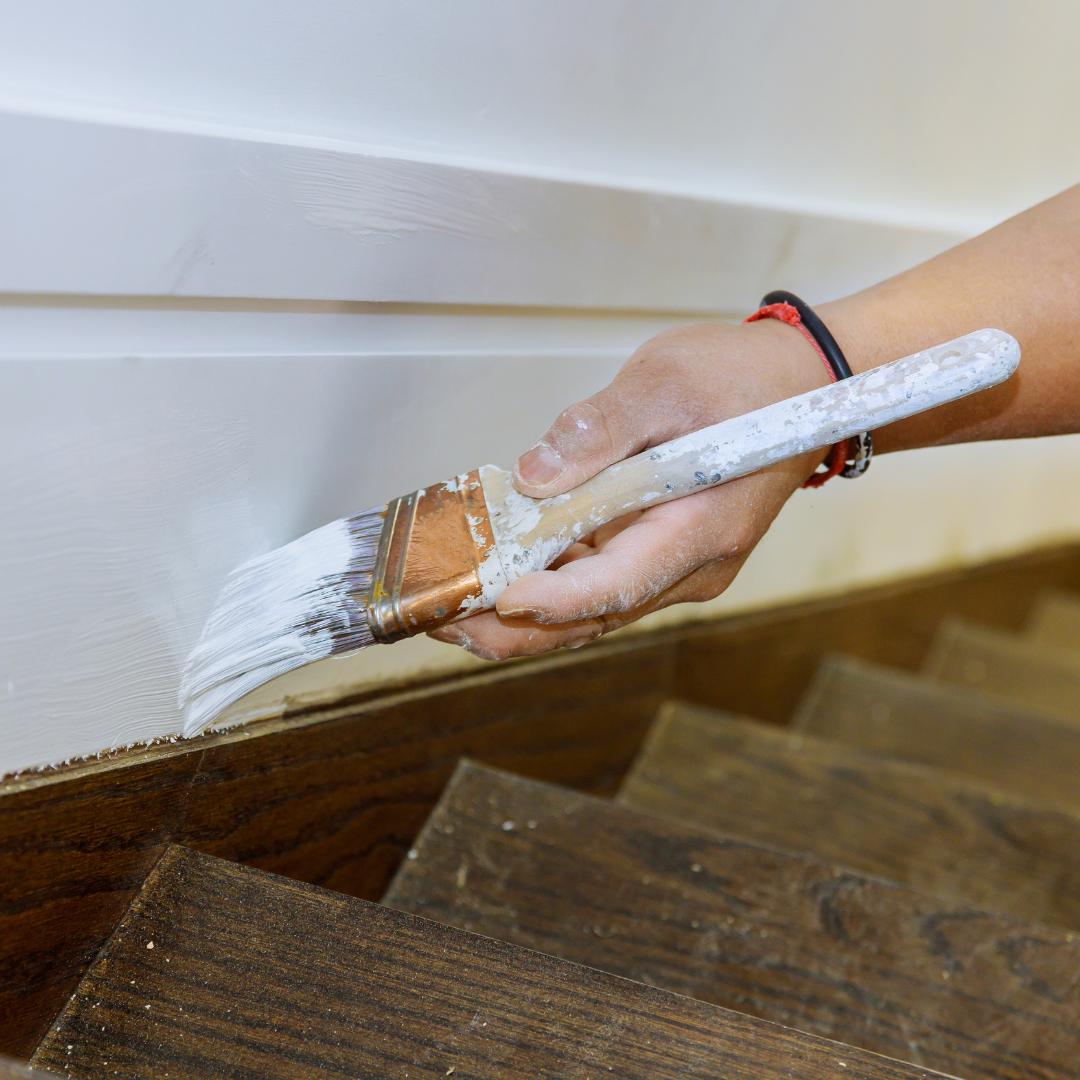
As for the painting order: still the same! Work from the outside inwards and from the top down. Use a round brush for corners and borders and a felt roller for flat areas, for the best result.
Want to keep it natural?
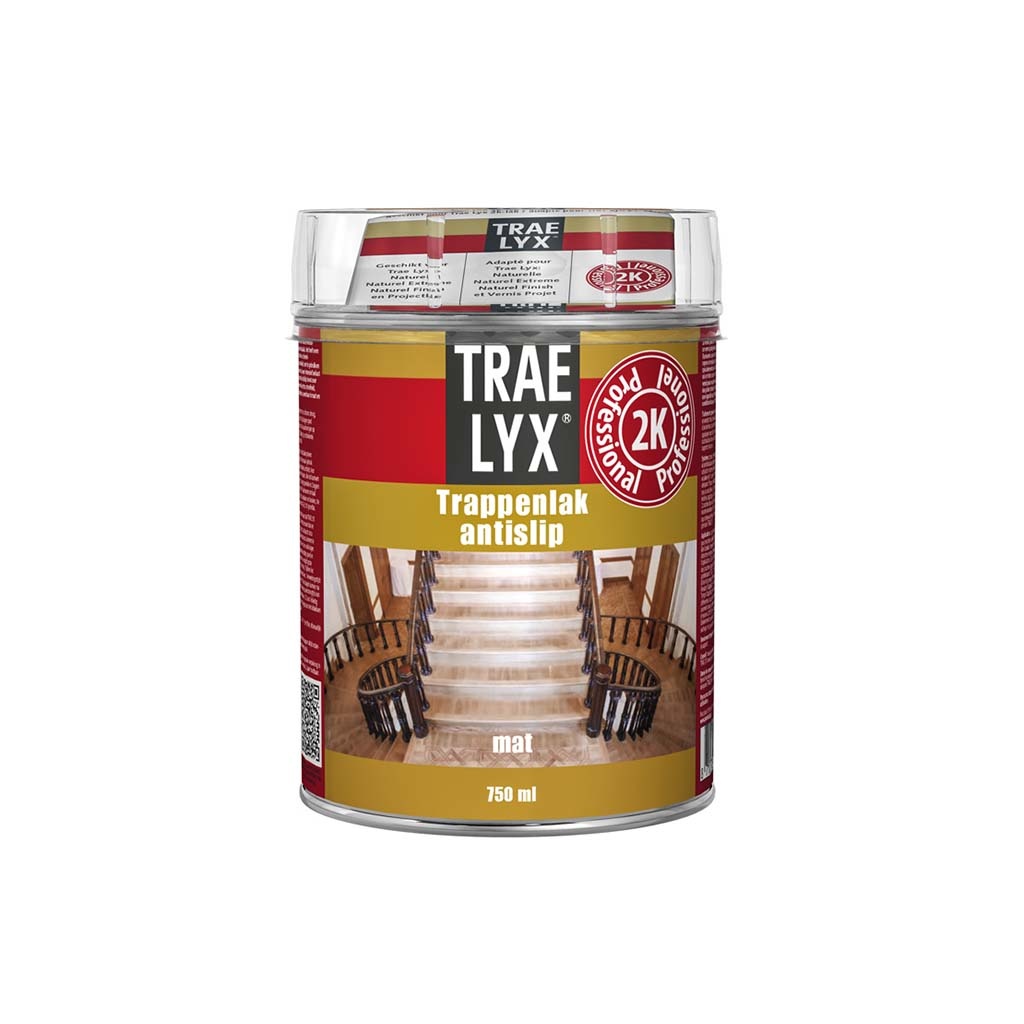
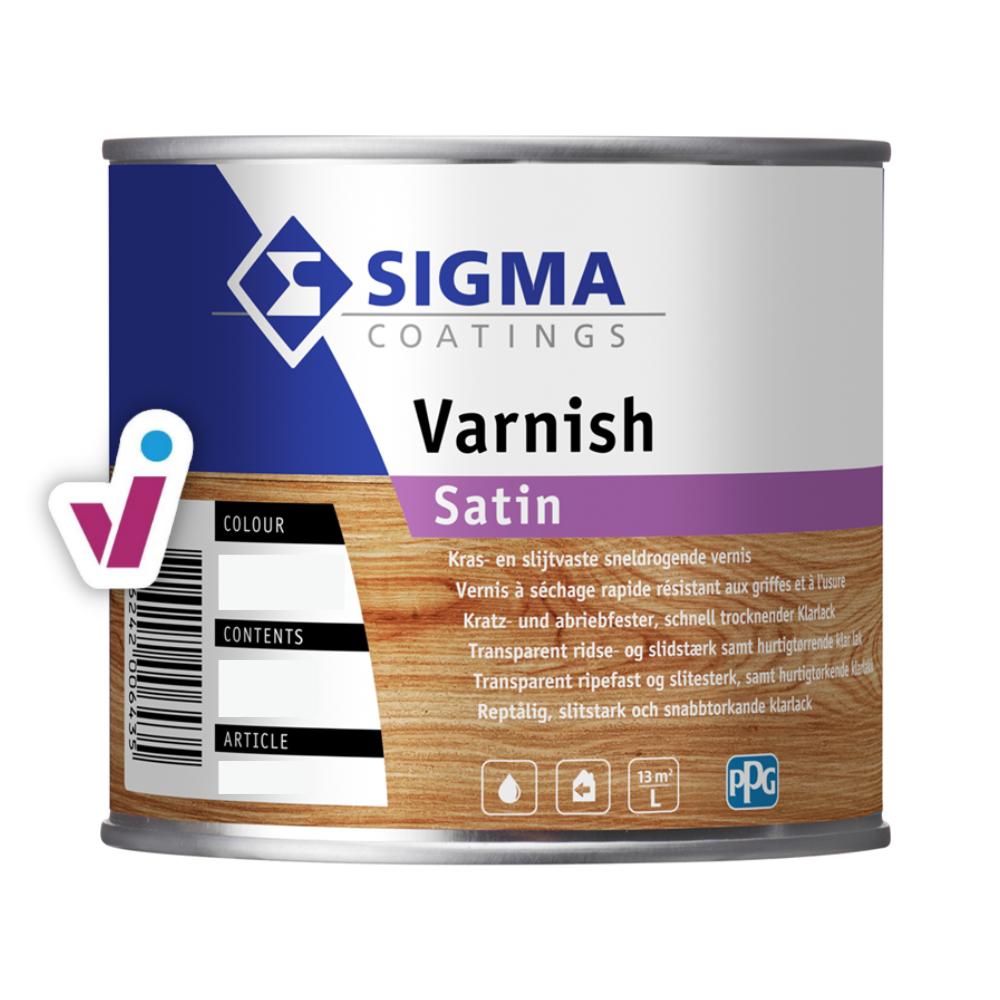
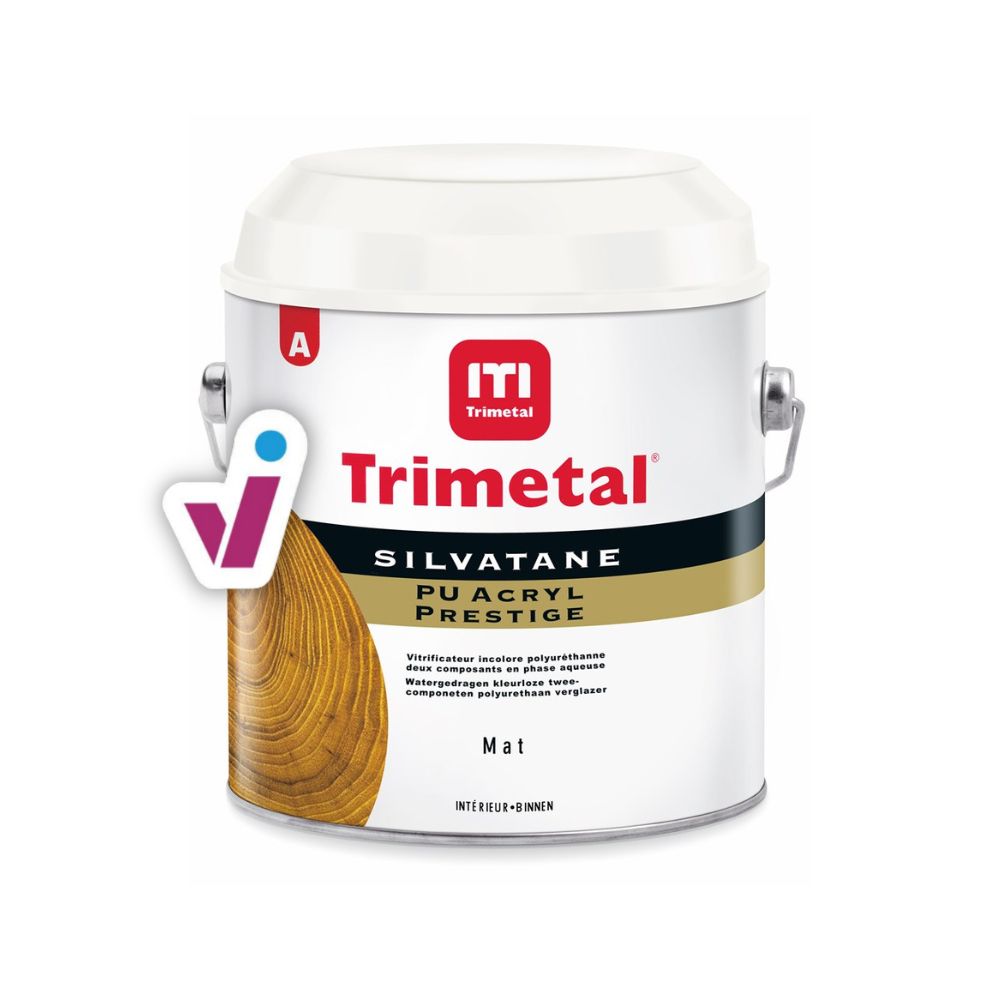
If you're looking to refresh and protect your wooden stairs without giving them a new colour, you might want to take a look at the following varnishes and oil treatment products.
Checklist
- Clean and degrease
- Sand the stairs
- Apply two coats of primer
- Finish off with one coat of lacquer
- Your stairs are now top-notch!
Need help?
If some of the steps aren't entirely clear to you, or if you are in a specific situation that isn't covered by our how-to guide, then our experts will be happy to help.


