How to paint a ceiling
➡️ Do you also have one or more walls to take care of? Then learn how to paint a wall.
➡️ Also want to know whether it's best to paint your wall first or your ceiling first? Then be sure to read on.
Step 1: a thorough preparation
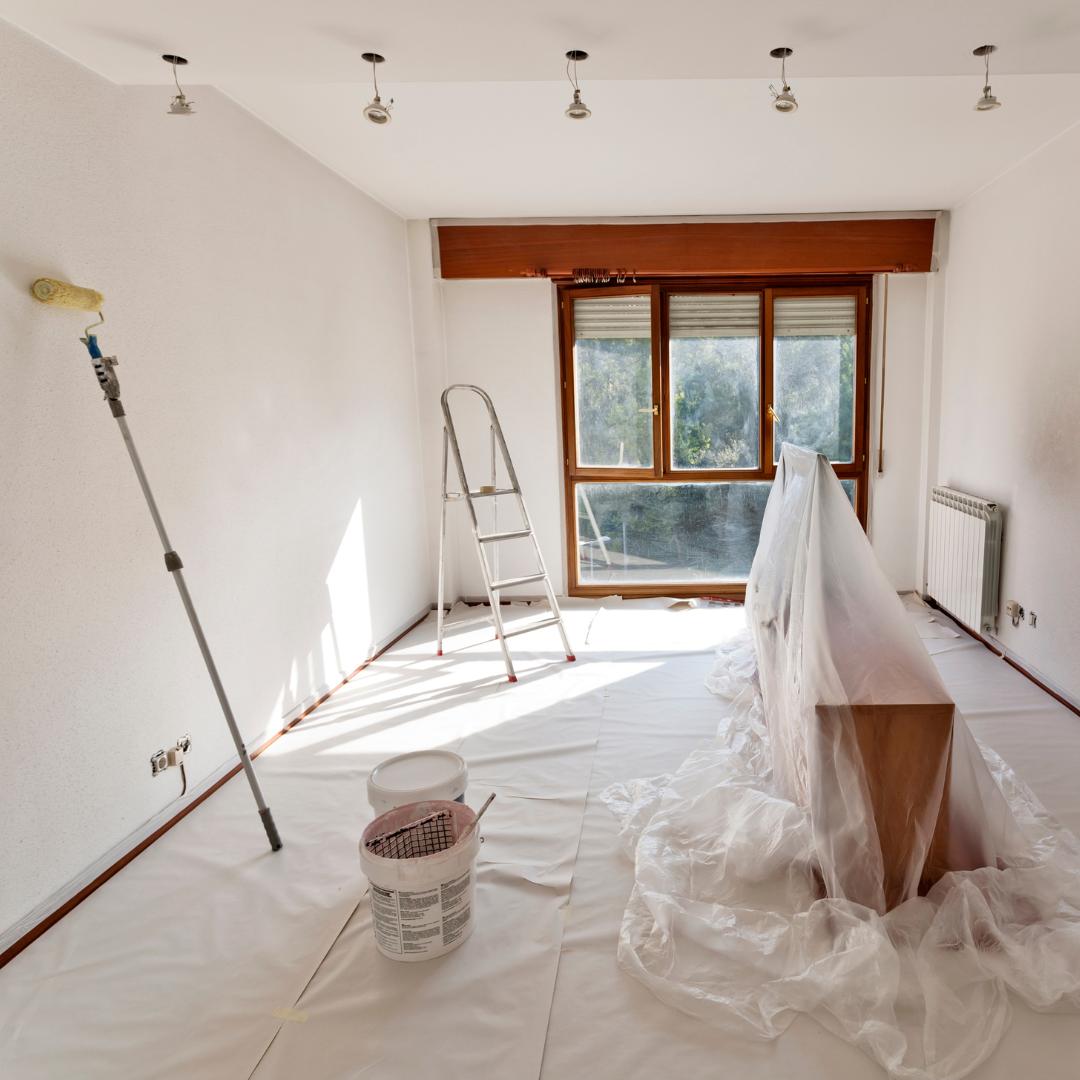
- Protect the floor and your furniture from paint splashes
- Tape off adjacent walls
- Also don't forget the skirting boards, window sills, etc.
Preparing the environment is often not the most popular task. However, when painting a ceiling, it is really worth taking precautions against possible paint splashes, or gravity doing its job.
You can perhaps do the simplest thing first: protect the floor and furniture. On the floor, you can work smoothly with cover cardboard. The furniture is obviously safest if you remove it from the room. If you can't, you can also easily cover them with masking film.
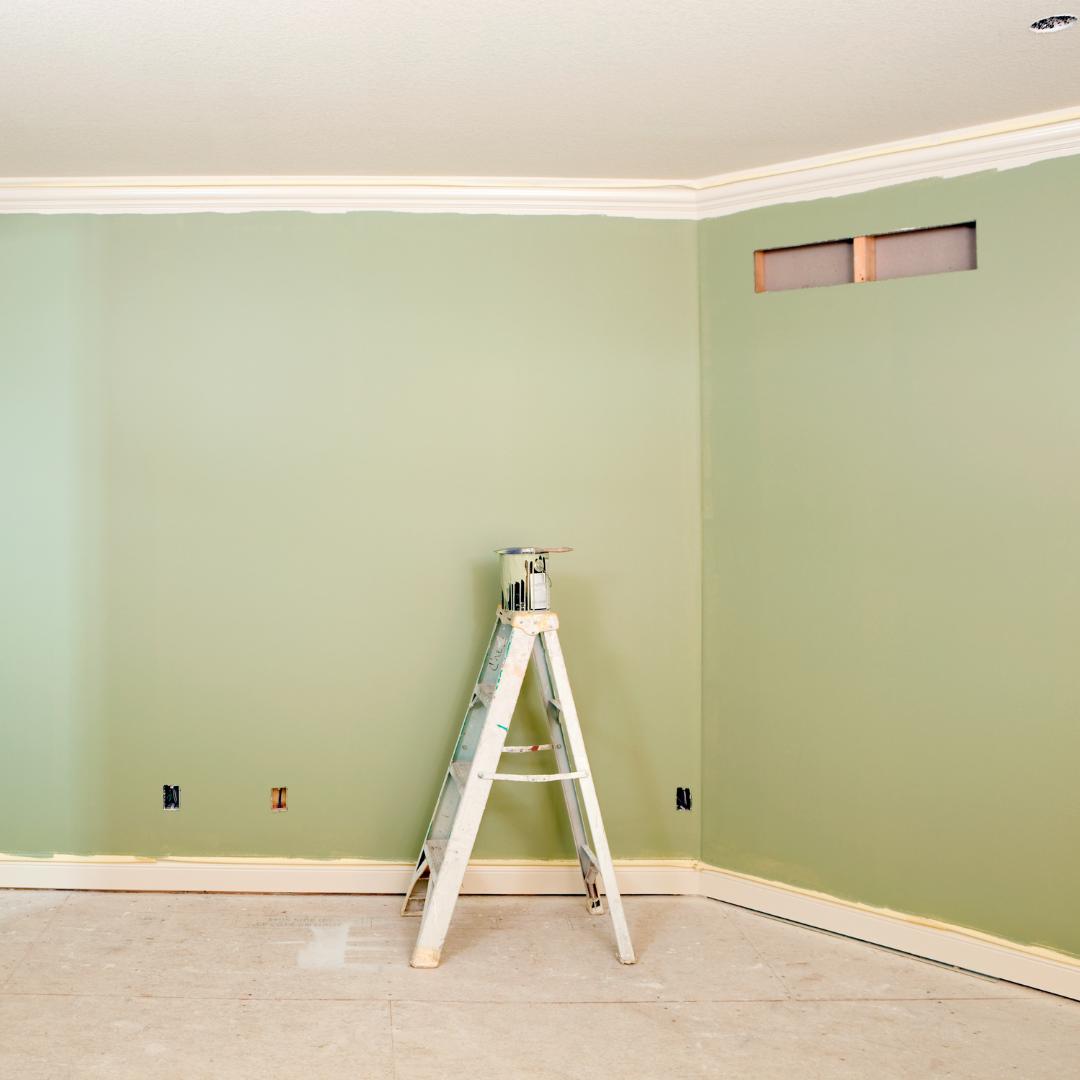
Then you can start by taping the top edges of the adjacent walls well with masking tape. It's best to also cover the top piece of wall with foil and masking tape. Don't forget the skirting boards either!
Also reconsider if there are any other horizontal surfaces that you would be better off covering. Window sills, for example, can also easily catch paint splatters 😉
Step 2: provide the perfect base
- Clean and degrease the ceiling
- Repair any minor or major damages
- Apply an appropriate primer onto the ceiling
- Paint in squares of approx. 1 m²
Now you can start preparing the ceiling itself. Just check how it looks.
Has it been painted before? Are there any cracks or blemishes? Do you see any stains? Depending on the state of your ceiling, choose a suitable preparation.
Repainting previously painted ceiling
A ceiling that has been painted before generally does not require a lot of preparation. But... don't skip it!
Ceilings are sensitive to rising particles in the air, though. These quickly create a layer of dirt or grease. So proper cleaning and degreasing is the key to a beautifully painted ceiling.
Notice any cracks or unevenness? Then you can get rid of them first. How to do that, you can read a little further on this page.
Is your ceiling otherwise in good condition? Then you can get started with primer right away!
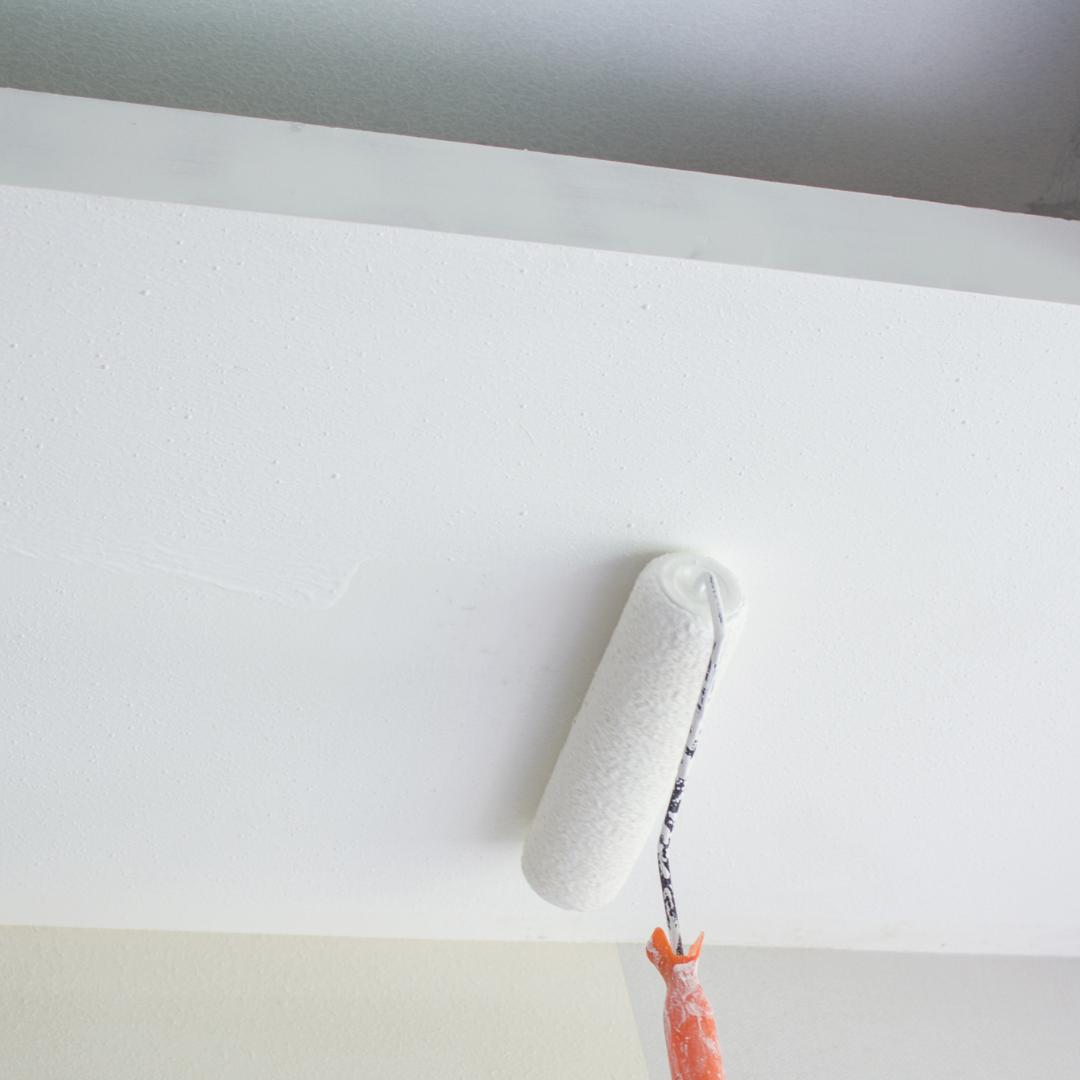
Divide your ceiling into imaginary squares of about 1 m². Start in a corner close to the largest window and work away from it. Paint the corners and edges first, then roll out the primer in the imaginary square.
Continue in this way until you have primed the entire ceiling. When doing so, try to overlap adjacent squares where the paint is still wet. That way you won't see the transitions. You only need to apply one coat of primer.
Painting a ceiling in a new building
With a ceiling in a newly built house, it is important to first check whether it is already a good time to paint.
Putting a primer on an unpainted ceiling first ensures that the final coat will adhere better. It also improves coverage and prevents any colour differences. Very important!
💡 Tip: pre-order your primer in the colour of your choice!The procedure for applying the primer is the same as for a previously painted ceiling (see above, under "Repainting a ceiling").
Cracks or other damage?
Notice fine cracks on your ceiling? You can quickly and simply get rid of these with a renovation paint, such as Levis White+. Another option is to apply a fine coat of finishing filler, with Dalapro Roll Nova for example. That one is handy for the ceiling though because you can apply it by roller.
For larger cracks, holes or blemishes, it is best to use an appropriate filler.
Painting a wooden ceiling
For a wooden ceiling, the steps are also similar to those for a previously painted ceiling. It's best to start with cleaning and degreasing too, and of course let it dry thoroughly, but you then go to work with a completely different type of primer. This is because for wood you need lacquer paint, rather than wall and ceiling paint.
Fill any holes with a special wood filler. It is also necessary to sand the wood first. Do not forget to dust the ceiling as well.
Apply a first coat of primer with a brush. With a brush, you can easily paint between the seams of the flashing. Next, roll out the paint further neatly along the length of the wooden slats, then across them again, and finally once more in line with the shelves.

Step 3: painting your ceiling
- Apply one more coat of ceiling paint
- Keep working in squares, but make them slightly larger
- Provide a slightly larger overlap
Good job! You have arrived at the third a final step: applying the final coat of ceiling paint.
Again, use the same method as when painting with primer. Only make your imaginary areas slightly larger, so that your overlap is not in the same place. This way you have the least chance of visible transitions. Again, one coat is sufficient.
Painting your ceiling without streaks
One of the challenges of painting a ceiling is painting without streaks. Here are some tips for a streak-free, beautiful end result:
- Choose a good covering primer.
- Paint evenly in imaginary squares, rolling out in different directions each time.
- Let the squares overlap, always painting the transitions wet on wet.
- Work through. You have the least chance of streaking if you can paint through as much as possible in one go. You will enjoy extra peace of mind afterwards when you can look at a streak-free ceiling.
- Check that the room is not too warm. A room temperature between 10 and 20°C is ideal. Otherwise, your paint will dry too quickly and it will be more difficult to work wet-on-wet.
- If you use water-based paint, ventilate the room afterwards to avoid drying too quickly.
- Paint that has a long open time and is easy to apply always helps too! By the way, we also have specially developed ceiling paints in our range that naturally possess these properties.

The ceiling paint you need
There, now you can start warming up those neck and shoulder muscles to get started. Unless you need to order your paint first, of course. Then you'll have to do that first.
Not sure yet which paint you need exactly? No problem! Below are our suggestions, by specific application. Or, become a real ceiling paint connoisseur thanks to our paint guide for walls and ceilings.
If you already know what you're looking for, you can browse through our ceiling paint category.


